How to Plug a Bathtub Drain With Holes in 10 Simple Steps
Many people struggle with fixing a bathtub drain that has holes, and it can be frustrating to find a quick, effective solution. You’re not alone in facing this issue, and the good news is, fixing it doesn’t have to be complicated.
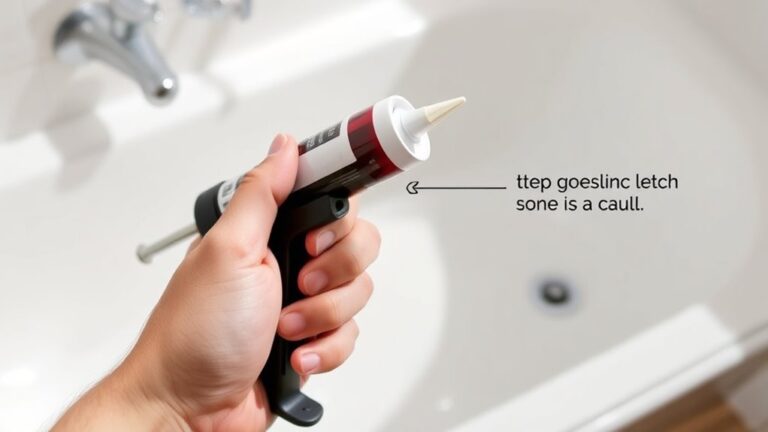
To plug a bathtub drain with holes, start by cleaning the area thoroughly to remove debris and old sealant. Measure the size of the holes and select a suitable plug or sealant like silicone or epoxy.
Apply the material evenly around the drain or directly into the holes, pressing firmly to guarantee a good seal. Let it cure completely before testing for leaks.
If you want detailed tips, keep exploring how to effectively fix your drain in just a few simple steps.
Key Takeaways
- Clean and dry the drain and the area around it thoroughly before sealing. This helps the sealant stick better and prevents leaks.
- Measure the drain opening so you can pick the right size plug or sealant. Accuracy is key for a good fit.
- Apply a compatible sealant or insert a suitable rubber or plastic plug snugly into the drain. Make sure it’s fitted well.
- Check that the seal is even and complete to stop water from leaking or seeping through. Take your time to get it right.
- Let the sealant cure fully before you use the tub or expose the drain to water. This ensures it sets properly and stays secure.
How to Recognize If Your Bathtub Drain Has Damage or Leaks
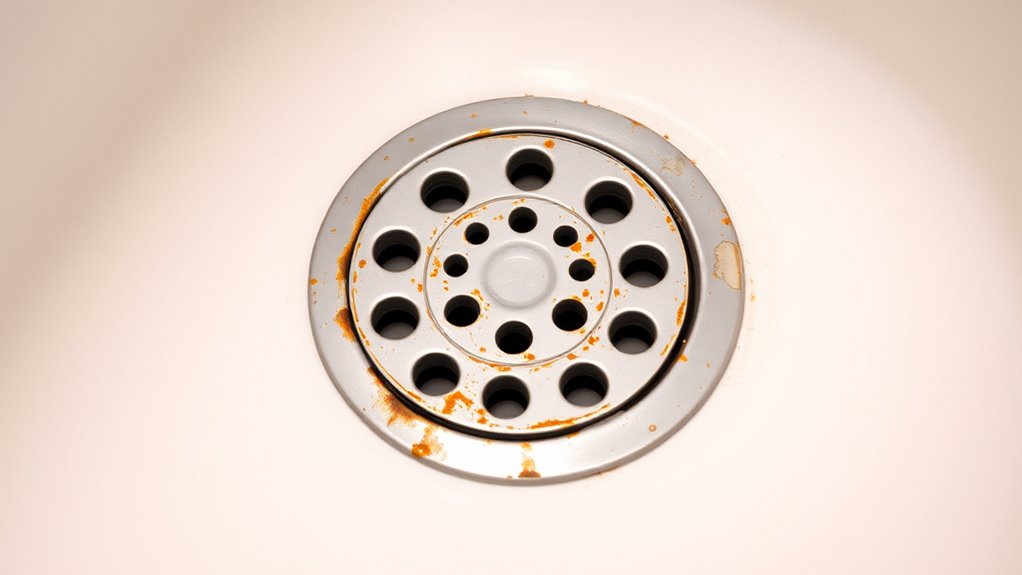
If you notice water pooling around your bathtub or it drains slowly, it could be a sign of damage or leaks in the drain. These issues can disrupt your bathroom decor, making your space look untidy and poorly maintained.
Damage or leaks may also cause water to seep into surrounding areas, risking mold and further structural damage. Recognizing these signs early helps you fix the problem before it gets worse.
Leaks can lead to increased water usage, which goes against water conservation efforts. Keep an eye out for any unusual dampness on floors or walls near the tub, as well as persistent odors that might signal a hidden leak.
If your bathroom decor shows signs of water damage, it’s important to inspect the drain thoroughly. Acting quickly preserves your bathroom’s integrity, reduces water waste, and keeps your space looking nice.
Recognizing these signs early helps ensure your bathroom stays functional and visually appealing.
Gather the Tools and Materials Needed for Repair
Before you start repairing your bathtub drain, it’s important to gather all the tools and materials you’ll need. Being prepared helps you avoid common plumbing mistakes and keeps safety front and center.
Start with the basics so you can get the job done smoothly. Consider having a rubber plug or stopper, an adjustable wrench, plumber’s putty or sealant, and a cloth or rag for cleaning.
Begin with essential tools like a stopper, wrench, sealant, and cloth for a smooth and safe repair.
Having the right tools on hand minimizes risks and ensures a proper, secure seal. Always check that your tools are in good condition to prevent accidents.
Rushing or using the wrong tools can cause leaks or damage, so it’s best to prepare carefully. Gathering everything beforehand streamlines the process and helps avoid unnecessary errors.
Staying organized and mindful of safety keeps you safe during the repair. This way, your bathtub drain will be successfully plugged without any issues.
Prepare Your Bathtub Drain for Fixing the Holes
To effectively fix holes in your bathtub drain, you need to prepare the area properly. First, inspect the drain to understand its history. Older, vintage plumbing might have fragile parts, while modern bathtub manufacturing often ensures better sealing.
Clear away any debris or soap residue around the drain so you can see its full condition. If you notice corrosion or rust, make sure to address these issues before moving forward.
Here’s what to contemplate:
| Old Bathtub Plumbing | Modern bathtub manufacturing |
|---|---|
| Fragile materials | Durable, sealed components |
| Corrosion risks | Less prone to corrosion |
| Harder repairs | Easier to fix or replace |
Taking these steps guarantees a stable foundation for your repair. It also helps prevent future leaks. Proper prep avoids surprises later, making your fixing process smoother and more effective.
Clean and Clear the Drain Area Thoroughly
Once you’ve inspected and prepared the drain area, it’s time to give it a thorough cleaning. Clearing debris and buildup ensures good water flow, makes your bathtub look better, and helps save water. A clean drain also prevents leaks and keeps your tub looking fresh.
Regular drain cleaning improves water flow, keeps your tub fresh, and promotes eco-friendly water use.
To do this effectively, try these steps:
- Remove loose hair, soap scum, and grime with a small brush or cloth.
- Use a gentle cleaner to scrub around the drain and nearby areas.
- Rinse thoroughly with warm water to wash away loosened residue.
- Dry the area with a clean cloth to prevent mold and mineral deposits.
Keeping your drain clean regularly not only makes your bathtub look nice but also helps you use water more efficiently. A tidy drain reduces the risk of clogs and supports eco-friendly water conservation.
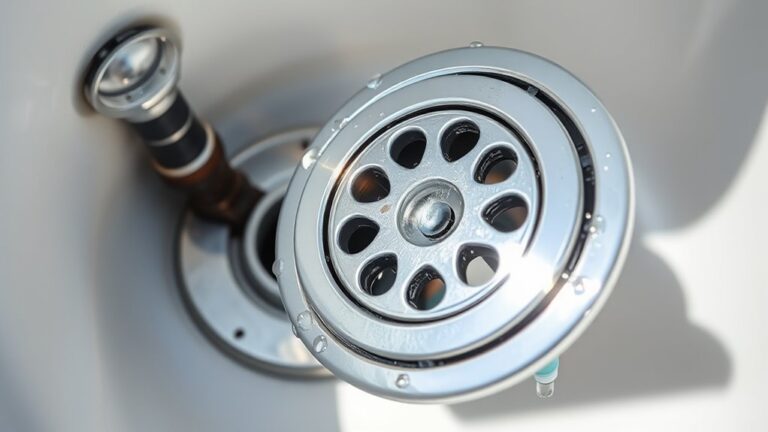
Identify the Exact Location and Size of the Drain Holes
First, you’ll want to identify exactly where the drain holes are. It’s pretty important to get this right so your seal works properly. If you’re having trouble seeing clearly, grab a flashlight—it will help illuminate those tiny spots and make everything way easier to spot. Once you’ve located the holes, go ahead and measure their size precisely. This way, you’ll be sure your plug fits snugly and doesn’t let any water sneak through.
Locate Drain Holes Precisely
Have you ever wondered how to accurately find the drain holes in your bathtub before trying to plug them? Pinpointing the exact location ensures a secure fit and prevents future drain problems like clogs.
To find the holes, start by checking the center of the drain for the smallest, easiest-to-access opening. You can also look for signs like water pressure buildup or slow drainage, which can hint at the drain’s position.
Using a flashlight can help reveal hidden or recessed holes, making them easier to spot. And don’t forget to measure the size of the drain openings with a ruler or measuring tool to confirm you’ve got the right fit.
Getting the placement right helps avoid misfits that might cause water leaks or drain clogs later on. Remember, knowing the exact location and size makes the repair simpler and keeps everything working against water pressure and drainage issues.
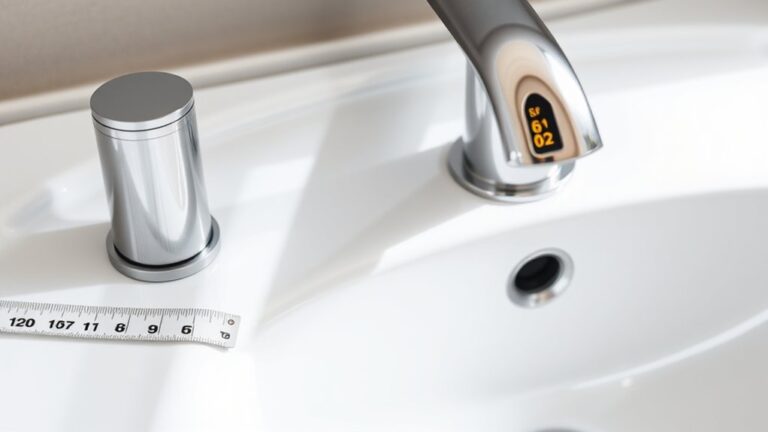
Measure Hole Dimensions Accurately
To guarantee your bathtub drain fits properly, it’s essential to measure the hole dimensions accurately. Use a ruler or caliper to determine the diameter of the drain holes, noting any irregularities or variations.
Knowing the exact measurements helps you select the right drain materials or repair techniques for plugging holes effectively. If the holes are uneven or damaged, precise measurements guide you in choosing patching solutions that fit snugly and prevent leaks.
Be sure to measure multiple points around each hole to account for any irregular shapes. Accurate measurements ensure your chosen materials, like rubber stoppers or repair kits, form a tight seal, making your repair durable.
Proper measurement is critical to avoid future issues and ensure your bath becomes watertight again.
Choose the Best Sealant or Plug for Your Bathtub Drain
Choosing the right sealant or plug for your bathtub drain really depends on a few things. First off, think about the type of drain you have and how long you want the fix to last.
It’s also important to check whether the sealant works well with your drain material—that way, you avoid any compatibility issues. And, of course, durability is key. You want something that will hold up over time and keep leaks or bad odors at bay.
Types of Sealants
When it comes to sealing a bathtub drain, choosing the right sealant is key to ensuring a watertight fit and preventing leaks. The best choice depends on what you need and the materials you’re working with.
Common sealants include silicone caulk, plumber’s putty, foam pipe insulation, and rubber drain stoppers. Silicone caulk is flexible and durable, making it great for waterproof sealing.
Plumber’s putty easily molds around the drain and provides a tight seal. Foam pipe insulation helps fill gaps temporarily, while rubber drain stoppers are simple and effective plugs.
Think about the material compatibility and how long you want it to last. Proper application of the right sealant ensures a leak-proof seal and easier drain maintenance over time.
Choosing the right type helps you avoid future issues and can extend your drain’s lifespan.
Compatibility With Drain Material
The compatibility between your drain material and the sealant or plug you choose is crucial for a secure, leak-free connection. Not all sealants work well with every drain material, so picking the right one is important.
For example, silicone sealants usually work well with porcelain and acrylic drains. Rubber or plastic plugs are best suited for PVC or metal drains.
To make things easier, here’s a quick table:
| Drain Material | Recommended Sealant or Plug |
|---|---|
| Porcelain/Acrylic | Silicone sealant |
| PVC/Plastic | Rubber plug or PVC-compatible sealant |
| Metal (steel, cast iron) | Silicone or specialized metal sealant |
Always check that your sealant matches your drain material. This way, you’ll ensure a watertight, reliable fit.
Durability and Longevity
Wondering how to make sure your bathtub drain stays leak-free over time? Picking the right sealant or plug can really make a difference in durability and longevity.
Look for options that resist corrosion because they’ll hold up against water and cleaning agents. It’s also important to choose products compatible with your drain’s material to avoid any damage and get a secure seal.
Here are some good choices for long-lasting performance:
- Silicone sealants for water resistance and flexibility
- Rubber plugs made from high-quality, durable rubber
- Epoxy-based solutions for a strong, permanent seal
- Naturally resistant materials like PVC or silicone plugs
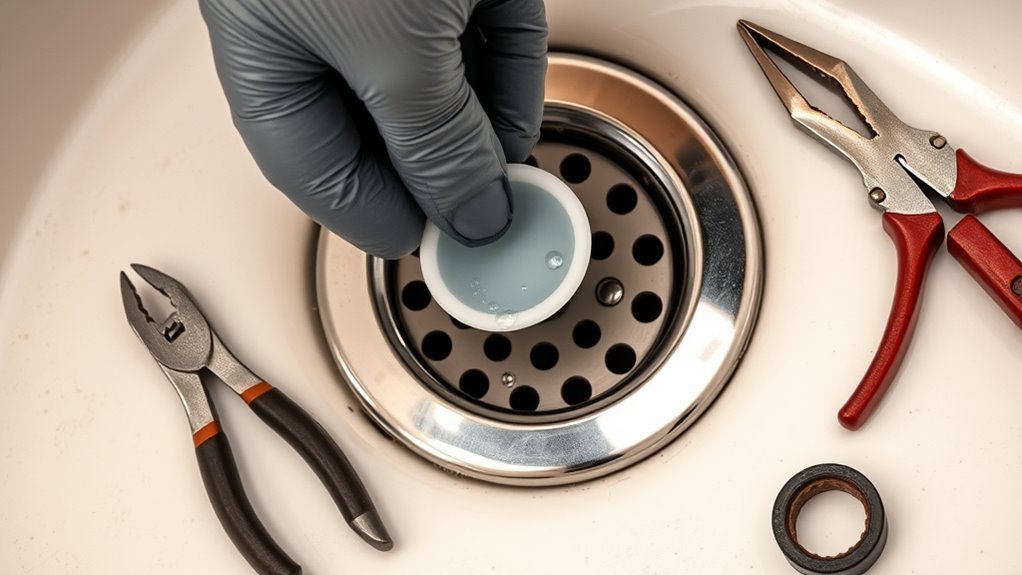
How to Properly Apply Sealant or Install a Drain Plug
Before you start applying sealant or installing the drain plug, make sure the surface around the drain is clean and dry. Neglecting surface prep often leads to leaks or failure, and many DIY mistakes come from skipping this step.
Begin by removing any soap scum, grime, or old sealant with a cloth. If you’re using a sealant, apply it evenly around the drain opening, making sure to cover all gaps to prevent leaks.
Remove soap scum, grime, or old sealant with a cloth before sealing or installing the drain.
When installing a drain plug, insert it firmly into the drain with a slight twist to seat it properly. Don’t rush these steps, as improper application can cause water damage later on.
Always follow the manufacturer’s instructions for sealant and drain plug installation. Check for gaps or misalignments before finishing to ensure a secure, long-lasting fit.
Taking these careful steps helps avoid common DIY mistakes and ensures your drain stays sealed and leak-free over time.
Allow the Sealant to Cure Fully Before Using Your Bathtub
After applying the sealant around the drain, it’s important to give it enough time to set and cure completely. Proper curing guarantees the sealant forms a dependable waterproof membrane, preventing water leaks and damage. During this period, avoid using your bathtub to allow the sealant to achieve maximum adhesion and durability.
To ensure the best cure, keep the area dry and free of water exposure for the manufacturer’s recommended curing time. Also, avoid moving or disturbing the drain, as this can disrupt the sealant’s bond.
If you’re unsure whether the sealant is fully cured or if there are vulnerabilities, consider scheduling a plumbing inspection. Patience during this process guarantees the long-term effectiveness of your repair.
It’s crucial to wait until the sealant is fully cured before using your bathtub to avoid rework or future leaks. This step helps maintain a reliable waterproof barrier, making sure your fix is both safe and long-lasting.
Test Your Drain for Leaks and Proper Functionality
Once the sealant has fully cured, it’s important to test your drain to make sure it’s watertight and working properly. You want to ensure your work respects the bathtub’s design and keeps your plumbing in good shape.
A simple way to check is to fill the tub with water and watch for any leaks around the sealant or drain. Keep a close eye, since even tiny drips can indicate a problem.
This test connects you to the long history of plumbing, where good sealing has always been essential for proper drainage.
| Checkpoint | What to Look For |
|---|---|
| No water leakage | No drips around the sealant or drain |
| Water level stable | No water loss during filling |
| Drain functions smoothly | Water drains without backup |
| No bubbling or gurgling | Indicates clear airflow or blockage |
| Overall comfort | Confidence in your plumbing work |
Tips to Prevent Future Drain Holes and Leaks in Your Bathtub
To prevent future drain holes and leaks, proper installation techniques and regular inspections are key. Make sure to routinely check your bathtub and drain for early signs of wear or corrosion.
Keep an eye on the drain area for cracks or corrosion, and fix issues right away to prevent bigger problems. Using quality materials and sealing connections properly during installation can really extend the life of your drain.
Regularly check for cracks or corrosion and repair promptly to extend your drain’s lifespan.
Regularly inspect the drain and surrounding caulking for signs of deterioration. You might also consider installing a drain cover to catch debris and reduce clogging and pressure buildup.
Schedule periodic drain inspections to catch wear early. Use the right sealants and fittings when installing or repairing.
Avoid harsh cleaning chemicals that may damage the drain. And always keep the drain area dry and clean to prevent corrosion.
Frequently Asked Questions
Can I Use Household Items to Plug a Bathtub Drain Temporarily?
Yes, you can use household items as a temporary fix to plug a bathtub drain with holes. Items like a rubber glove finger or a piece of a rubber jar lid work well.
Stuff the material tightly into the drain opening, then cover it with a damp cloth or duct tape to reinforce the seal. These quick fixes are inexpensive and handy for short-term needs.
They’re great until you can get a more permanent solution. Just keep in mind, these are temporary fixes, so it’s best to fix the drain properly as soon as you can.
How Long Does a Bathtub Drain Sealant Typically Last?
Sealant durability depends on quality and conditions, but usually, bathtub drain sealants last about 5 to 10 years before you might need repairs.
It’s a good idea to check periodically for leaks or wear, especially as the sealant approaches its expected lifespan.
Proper preparation and application can really help extend how long your seal stays effective, keeping your bathtub secure and drip-free for many years.
Are There Any Safety Precautions When Working With Sealants?
Yes, there are safety precautions to keep in mind when working with sealants. You should wear gloves and eye protection, since sealants often contain chemicals that can cause irritation.
Make sure your workspace is well-ventilated to avoid inhaling fumes. Always read and follow the manufacturer’s instructions for handling the chemicals.
Finally, wash your hands thoroughly afterward to minimize exposure and keep yourself safe during the process.
Will Plugging a Drain Affect the Bathtub’s Future Drainage?
Plugging your drain can stop the flow completely, making it look like water’s frozen in time. This might lead to big issues down the line.
If you do it wrong, it could block future plumbing work or affect how well the drain works later on. That can cause ongoing drainage problems.
To avoid that, make sure you seal the plug properly and it fits well. Otherwise, water might leak or the drain could drain poorly.
A good, secure plug reduces the chance of future issues and helps protect your bathtub’s drainage system.
How Do I Remove a Drain Plug if I Need to Replace It Later?
To remove a drain plug for future replacement, start by checking what type you have—whether it’s a lift-and-turn, push-and-pull, or screw-on.
For lift-and-turn or push-and-pull plugs, just unscrew or lift them out with your hand.
If it’s a screw-on type, use pliers to loosen it carefully and then remove it.
This method makes it easier to install a new drain or plug when you’re ready later on.
Conclusion
By following these simple steps, you’ll turn your bathtub from a leaky mess into a waterproof fortress.
Don’t let small holes turn your daily bath into a flood. Take action now!
With patience and the right tools, you’ll restore your tub’s look and function. Avoid endless repairs or home disasters.
A properly sealed drain isn’t just a quick fix; it’s your shield against chaos, making your bathroom a peaceful retreat.