How to Cut a Caulk Tip for Your Bathtub in Three Easy Steps
Dealing with caulking around your bathtub can be tricky, especially if you don’t have the right tools or technique. Many people struggle with getting a clean, professional-looking bead, and that frustration can make the whole process seem daunting. But don’t worry—you’re not alone in this.
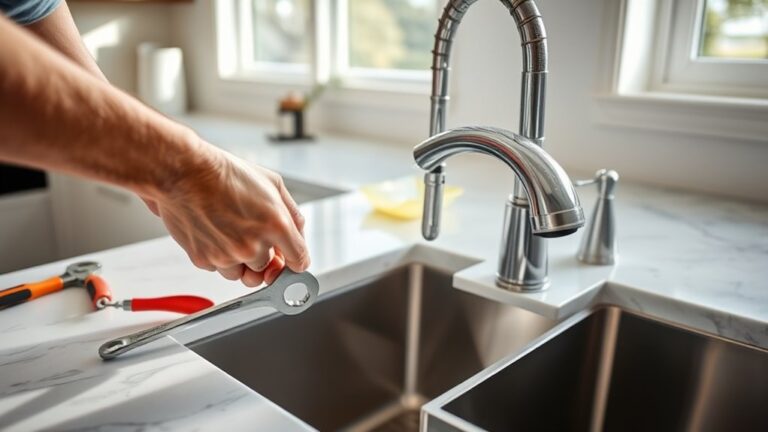
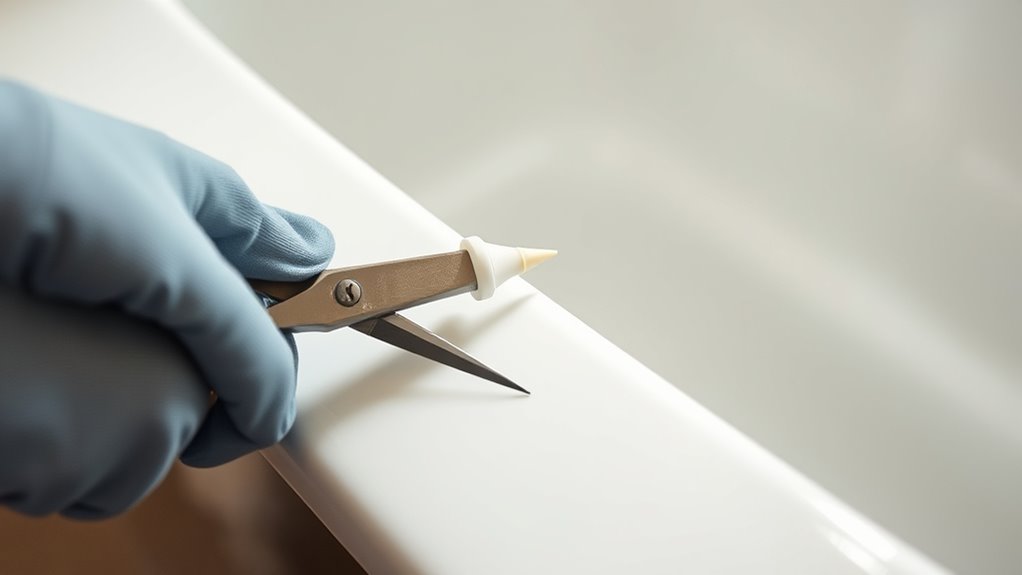
With a few simple steps, you can easily cut your caulk tip for a perfect finish. Start by marking the spot for your cut with a marker or painter’s tape to guarantee precision. Then, cut the tip at a 45-degree angle using sharp scissors or a utility knife, choosing a size that matches your project’s bead width.
Practice a few times to get comfortable with controlling pressure and angle. For more tips on achieving a professional finish, keep exploring how to perfect your caulking technique.
Key Takeaways
- Mark the spot where you want to cut the caulk tip using a marker or painter’s tape for accuracy.
- Use sharp scissors or a utility knife to cut the tip at a 45-degree angle.
- Start with a small opening so you can control the flow of caulk, especially in tight spots.
- Keep a steady hand and apply consistent pressure while cutting to make an even edge.
- Practice on some scrap material first to get the hang of it before working on your bathtub.
Why Proper Caulking Technique Creates a Pro Finish
Proper caulking technique is essential because it guarantees a smooth, even seal that looks professional and lasts longer. When you apply caulk correctly, you minimize gaps and prevent water from seeping into cracks, which reduces mold and damage.
Caulking safety is important. Wear gloves and work in a well-ventilated area to avoid irritation from fumes. Proper caulk storage keeps your materials fresh and prevents waste, so you always have good-quality caulk ready to go.
When you cut the tip at the right angle and apply steady pressure, your bead will be uniform and neat. This creates a clean, finished look that makes your project look polished.
Taking your time with technique helps avoid messes and rework. Remember, properly stored caulk stays effective longer. Following safety precautions protects your health.
Mastering proper caulking technique improves your project’s appearance and durability. It makes your bathroom look polished while keeping your tools and materials in top shape.
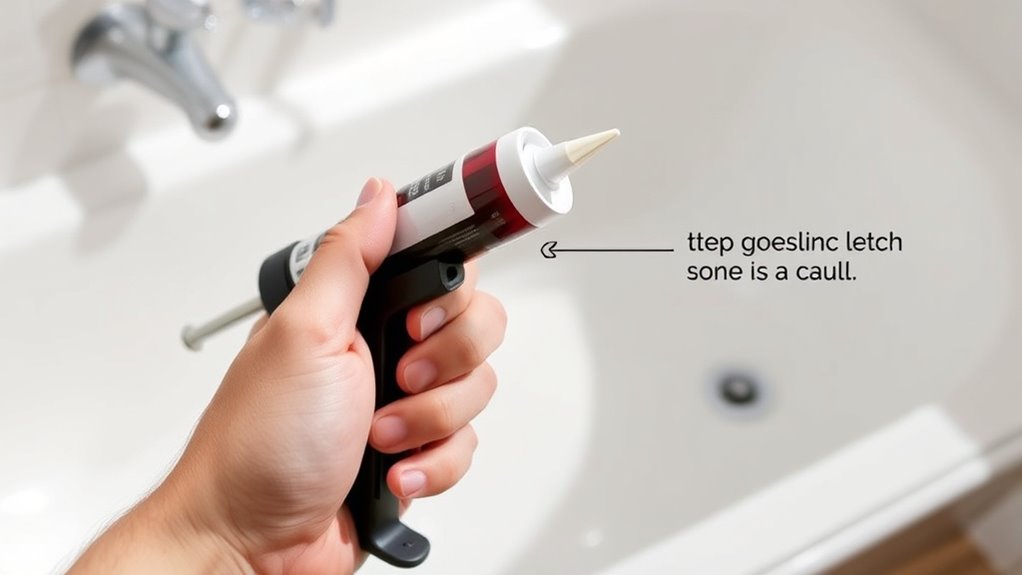
Gather Your Tools and Test Your Caulk Tip First
Before you start applying caulk around your bathtub, gather all your tools in one spot to stay organized. This includes your caulk, caulk gun, utility knife, and a rag or sponge. Proper storage keeps your materials fresh and ready to use.
Before cutting the tip, test it by squeezing a small amount onto a scrap surface. This helps verify that your bead size will be consistent. Remember safety precautions: wear gloves if needed, and handle tools carefully to avoid injury.
Testing the caulk tip first allows you to adjust the pressure and nozzle opening for smoother application. Double-check that the caulk flows evenly so you won’t waste material or create uneven lines.
Being prepared and practicing beforehand will help your caulking look professional and neat. Keep your workspace clean and organized to promote safety and be ready when it’s time to apply the caulk.
How to Choose the Correct Bead Size and Cutting Angle
Choosing the right bead size and cutting angle is key to getting a clean, professional-looking seal around your bathtub. Your bead size influences both the strength and the appearance of the seal, so aim for a consistent, moderate width.
Larger beads can seem bold but might overflow, while smaller beads could leave gaps. When choosing the cut angle, a 45-degree tilt works best—it helps create a smooth, controlled flow of caulk.
Experiment with your caulk tube to find the angle that gives you an even bead. Color also matters—match or complement your bathtub and tiles for a seamless look.
Don’t forget sealing techniques. Applying with steady, even pressure ensures a uniform application. A precise cut and the right bead size will help you achieve a professional finish and cut down on messes.
Taking the time to pick the right bead size and angle now makes your sealing process cleaner and more effective.
Mark and Cut Your Caulk Tip for a Precise Bead
To create a clean, professional bead around your bathtub, start by marking the precise spot on the caulk tip where you’ll make your cut. Consider how your chosen caulk color matches your bathroom decor for a seamless look. Use a marker or painter’s tape to indicate the cutoff point, which helps ensure consistency and accuracy.
Pay attention to how you hold the caulk gun—you want to be comfortable so you can maintain control while cutting. A steady hand makes it easier to make a smooth, even cut, preventing excess caulk and uneven beads. If you’re unsure about the size of the bead, remember that a smaller opening is easier to control, especially in tricky corners.
Marking the tip beforehand gives you a visual cue, reducing guesswork. Taking these simple steps helps the caulk apply evenly and looks professional, giving you a smooth, uniform bead that enhances your bathtub’s appearance.
Practice and Adjust Your Caulk Tip for Best Results
Practice applying the caulk a few times first to get a feel for creating a steady, even bead. It’s a good idea to adjust your technique as you go along. Just focus on keeping your pressure and speed consistent—that way, the flow of the caulk stays smooth and even. When you fine-tune these steps, you’ll end up with a neat, professional-looking finish that’s hard to beat.
Consistent Application Technique
Mastering a consistent application technique for caulk is key to getting smooth, professional-looking results. Focus on keeping steady pressure and a steady hand to improve tool comfort and prevent uneven lines.
Practice guiding the caulk smoothly along the seam, matching the color to your bathroom fixtures for a seamless look. Adjust your grip to avoid tiring out and to stay in control during application.
Experiment with different angles to find what works best for you. This makes your work more precise and more enjoyable. With regular practice, you’ll build confidence and skill.
Soon, you’ll create flawless, clean lines that make your project look polished without much effort. Feel proud of your work and enjoy transforming your bathroom with confidence and skill.
Optimal Caulk Flow Control
Adjusting the flow of caulk as you work is essential for clean, even lines. Practice controlling the pressure on the caulk gun and adjust the tip angle for smooth application.
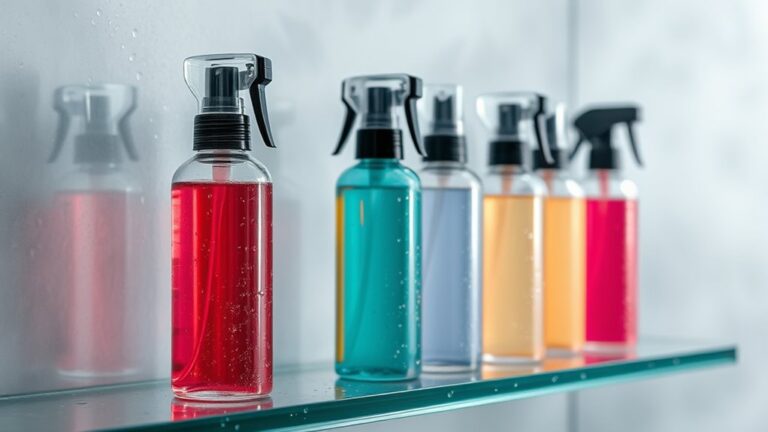
For ideal flow, match the caulk type to your needs. Silicone offers flexibility and durability, while acrylic is easier to clean and paint. When color matching, make sure your caulk color complements your bathroom decor for a seamless look.
Experiment with your caulk tip to find the right flow rate, avoiding too much or too little. Keep this table in mind:
| Caulk Type | Key Feature |
|---|---|
| Silicone | Flexibility, waterproof |
| Acrylic | Paintable, easy to clean |
| Usage | Shower seams, caulk lines |
| Color Match | Complements bathroom decor |
Adjustments like these help you achieve professional results every time.
Step-by-Step: How to Cut the Caulk Tip for a Great Seal
To achieve a clean, effective seal around your bathtub, you need to cut the caulk tip properly. Start by choosing the right size—cut at a 45-degree angle to create a small opening. This helps you control the flow of caulk for a smooth application.
Keep in mind that the caulk color matters. Matching it to your tub makes the job look seamless and professional. A good fit means your seal will be less noticeable and last longer.
Feel confident knowing you’re preventing water damage for years to come. When you take your time and make precise cuts, you’ll get a flawless finish.
Enjoy the satisfaction of maintaining a beautiful, well-kept bathtub that looks great and works well.
Common Mistakes When Cutting Caulk Tips (and How to Avoid Them
Cutting the caulk tip incorrectly can lead to messy application and uneven seals, which might cause water leaks or damage over time. One common mistake is skipping proper surface prep, like cleaning and drying the area, so the caulk adheres well.
Rushing to remove old caulk or not choosing the right cut size results in inconsistent bead flow. When cutting the tip, avoid making it too big or too small; a common mistake is cutting at an angle that doesn’t match the desired bead width.
Don’t forget to thoroughly remove old caulk before sealing, as leftover residue can ruin adhesion. Also, be careful not to cut the tip unevenly, which can cause jagged, uneven lines.
Taking your time to prep the surface and make precise cuts will give you a smooth, controlled application. Avoid these mistakes for a professional-looking seal that lasts longer and keeps water where it belongs.
How to Apply Caulk for a Smooth, Even Bead on Your Tub
Achieving a smooth, even bead of caulk along your bathtub takes steady hands and a step-by-step approach. Start by applying steady pressure as you run the caulk gun along the seam, keeping the flow narrow and controlled.
Apply steady pressure with your caulk gun for a smooth, even bead along your bathtub seam.
To blend with your bathroom decor, consider matching the caulk color to your tile or tub for a seamless look. Keep the caulk tip at a 45-degree angle for precision, making sure your application is neat.
Don’t forget to smooth the bead using a damp finger or a caulk tool. This helps give it a professional, finished appearance. Proper storage of your caulk ensures it stays fresh and ready for any touch-ups later on.
Pay attention to these essentials:
- Achieving flawless results boosts your confidence and pride.
- Matching the caulk color makes your bathroom look clean and cohesive.
- Proper storage prevents waste and keeps your supplies handy for future projects.
Follow these tips to create a tidy, durable seal that enhances your tub’s look and function.
Troubleshooting Your Caulking Job After Application
Even with careful application, caulking can sometimes reveal issues that need fixing. If you notice gaps, uneven lines, or peeling caulk, addressing these promptly guarantees a long-lasting seal.
First, check your caulk color choices. Using a color that matches your tub can help hide imperfections and improve the overall look. If discoloration or mold appears, revisit your bathtub cleaning tips: gentle scrubbing and proper drying prevent mold growth around the caulking.
For minor imperfections, use a caulk smoothing tool or a damp finger to refine the bead. If the caulk has peeled or cracked, you’ll need to remove the old caulk thoroughly before applying a fresh, proper-looking bead.
Final Tips for a Clean, Professional Caulk Finish
Want your caulk job to look really professional and clean? Just take your time smoothing out the edges carefully and make sure to wipe away any excess so your lines stay neat. It’s also important to keep your bead consistent as you go—you’ll end up with a seamless, polished finish. Trust me, these little things can make a huge difference in how your project turns out!
Smooth Caulk Edges
Once you’ve finished applying the caulk, smoothing the edges is key for a professional-looking finish. Use your caulking tools to gently run along the bead, making sure the edges are even and flush with the surface.
Edge smoothing creates clean lines that look better and help prevent water from seeping into gaps. Take your time and control your pressure as you work to get good results.
A smooth edge not only looks nicer but also improves durability over time. Feel confident that your effort will give you a seamless, polished look.
Enjoy the satisfaction of a flawless, professional finish that lasts for years.
And know that water won’t escape through gaps, giving you peace of mind.
Plus, you’ll feel proud of your DIY skills as your bathroom looks perfectly finished.
Maintain Consistent Bead
Maintaining a consistent bead throughout your caulking process guarantees a neat, professional appearance. Keep a steady hand and apply even pressure to the caulk gun, which helps produce uniform lines.
Consider the color options beforehand to match your bathroom decor, and choose a color that complements the surrounding tiles. As you work, smooth out the bead promptly for a clean edge.
Remember, different caulk colors might have varying drying times, so check the product instructions for ideal results. Rushing the process can cause uneven application or gaps.
For a polished finish, pause between sections if needed, and do any necessary touch-ups once the caulk is still slightly pliable. Proper technique ensures your bathtub caulking looks great and lasts longer.
Frequently Asked Questions
Can I Reuse a Caulk Tip After Cutting It?
You can reuse a caulk tip after cutting it, but keeping it maintained is important for a good seal. If the tip is still clean and undamaged, just rinse it off and store it for next time.
If the tip gets clogged or worn out, it’s better to cut a new one. This will help you apply the caulk smoothly and evenly, and it keeps the caulk working effectively.
Reusing a tip can save you money, but making sure it’s in good shape is key to getting a quality finish.
What Types of Caulk Are Suitable for Bathtub Sealing?
Back in the day, folks knew the importance of a good waterproof sealant. When sealing your bathtub, choose mold-resistant caulk to help prevent mold and mildew.
Silicone-based or acrylic latex with silicone work best because they stick well and stay flexible. These types are perfect for bathtubs, giving you a waterproof seal that lasts.
They also resist mold better, helping keep your bathroom fresh and clean. So, go for these options to get the best long-term results.
How Do I Prevent Air Bubbles in the Caulk Bead?
To prevent air bubbles during caulk application, apply steady pressure as you squeeze the caulk gun, making sure the bead is even.
Smooth out the caulk right after applying with your finger or a caulk smoothing tool. This pushes out trapped air and helps prevent bubbles.
Working slowly and steadily lets the caulk stick properly. That way, you’ll get a smooth, professional-looking bead with few or no bubbles.
How Often Should I Replace My Caulk Tip for Best Results?
You should replace your caulk tip every few uses to keep your technique sharp and your tools in good shape.
Switching out the tip regularly helps prevent clogs, giving you a cleaner bead and a neater finish.
Check the tip for cracks or buildup. Once it starts to wear out or gets clogged, it’s time for a change.
This simple step makes sure your sealing stays smooth, effective, and professional-looking every time.
Is There a Recommended Safety Gear for Caulking Projects?
Think of caulking as a dance, and safety gear is what keeps you in step. You should always wear personal protective equipment like gloves and goggles.
This is especially important because caulk contains chemicals that can irritate your skin or eyes.
I once ignored safety gear and got a splash in my eye, which was a good reminder of how crucial it is.
Always prioritize your safety to make sure your caulking project goes smoothly and without trouble.
Conclusion
Mastering the art of cutting your caulk tip turns your project into a well-orchestrated symphony, not a chaotic noise. When you follow these simple steps, you’re not just sealing a tub—you’re creating a foundation that stands the test of time.
Think of your caulk as the final brushstroke on a masterpiece. With precision and care, you’re ensuring it looks flawless and professional.
Keep practicing, and your bathroom will shine with the beauty of your effort. Using the right technique to cut your caulk tip is key to a smooth, clean seal.