How to Resurface Your Fiberglass Bathtub in 7 Easy Steps
Are you tired of looking at dull, stained, or chipped fiberglass bathtubs? You’re not alone. Many homeowners struggle with keeping their tubs looking fresh without the hassle of replacing them entirely.
To resurface your fiberglass bathtub in 7 easy steps, start by evaluating its condition and thoroughly cleaning it.
Sand the surface lightly and repair any chips or cracks.
Choose a high-quality epoxy or acrylic coating suited for fiberglass, then carefully apply multiple thin coats, allowing each to dry fully.
After curing, inspect and smooth out any imperfections.
Regular maintenance will keep your tub looking great for years.
If you want a detailed guide, continue exploring to learn more tips and tricks.
Key Takeaways
- Thoroughly clean and repair any damages on the surface before you start applying the resurfacing product. This step helps everything stick properly and ensures a smooth finish.
- Lightly sand the tub to help the coating adhere better, plus remove any dullness or residues that might be left behind.
- Choose a high-quality epoxy or acrylic coating that matches the color of your bathtub for the best and longest-lasting results.
- Apply multiple thin coats in a dust-free, well-ventilated space, making sure to let each layer dry completely before adding the next.
- Once you’re done, let the surface cure fully. Remove any masking tape and then go ahead with regular maintenance to keep it looking fresh and smooth.
Do I Need to Resurface My Fiberglass Bathtub?
You might wonder if it’s time to resurface your fiberglass bathtub, especially if it’s showing signs of wear. Cracks, chips, scratches, or dull stains indicate that your tub no longer looks or functions like new.
If cleaning no longer restores its shine or if damage has worsened, resurfacing could be a cost-effective alternative to bathtub replacement. During bathroom remodeling, you want to avoid unnecessary demolition when resurfacing can refresh your tub’s appearance and extend its lifespan.
Resurfacing is ideal if your fiberglass bathtub has cosmetic issues but remains structurally sound. On the other hand, extensive cracks, deep damage, or weakened material may require full replacement.
A professional assessment can help you determine whether resurfacing will meet your needs or if a bathtub replacement is a better choice. Making the right call ensures your bathroom looks great and works efficiently without excessive expense.
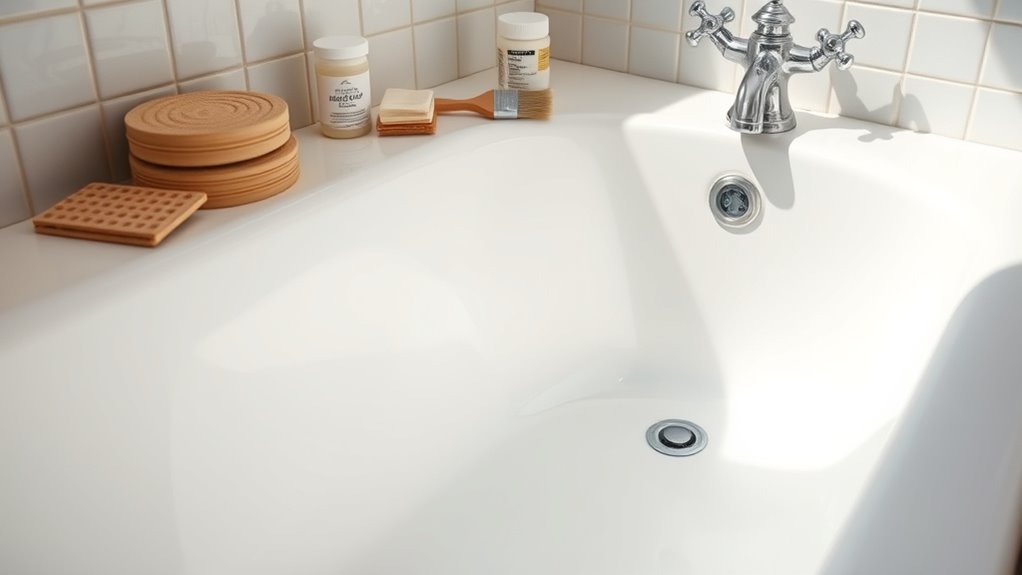
How to Prepare Your Bathtub Before Resurfacing
Proper preparation is key to ensuring your resurfacing comes out smooth and lasts a long time. Start by thoroughly cleaning your bathtub with a non-abrasive cleaner to remove soap scum, grime, and residues that could interfere with adhesion.
Thorough cleaning with a non-abrasive cleaner ensures proper adhesion for long-lasting bathtub resurfacing.
Lightly sand the surface to create a rough texture, which helps the primer and coating stick properly. Repair any chips, cracks, or holes with an appropriate filler, then sand those areas until smooth.
If you want a seamless finish, consider matching the color of the resurfacing paint to your current tub or your preferred shade. This helps keep things uniform once you’re done.
Texture customizations matter too—you can choose a glossy, matte, or textured finish based on your style. Mask off surrounding areas with painter’s tape and protect fixtures to avoid overspray.
Proper surface prep saves you time and makes sure your final result looks professional, durable, and exactly how you want it.
Choosing the Best Resurfacing Products for Fiberglass
Selecting the right resurfacing products is essential for getting a durable, attractive finish on your fiberglass bathtub.
Start by choosing a high-quality epoxy or acrylic-based coating designed specifically for fiberglass surfaces. These products usually have better adhesion and last longer.
Pay attention to color matching; picking a color that closely resembles your original hue makes repairs less noticeable and creates a seamless look. Many brands offer color charts or custom-matching options to help find the perfect shade.
When it comes to application techniques, read the product instructions carefully. Using even, thin coats with a brush, roller, or spray will give you a smooth, professional finish.
Proper application also means working in a dust-free environment and stirring the product consistently to avoid streaks or uneven texture.
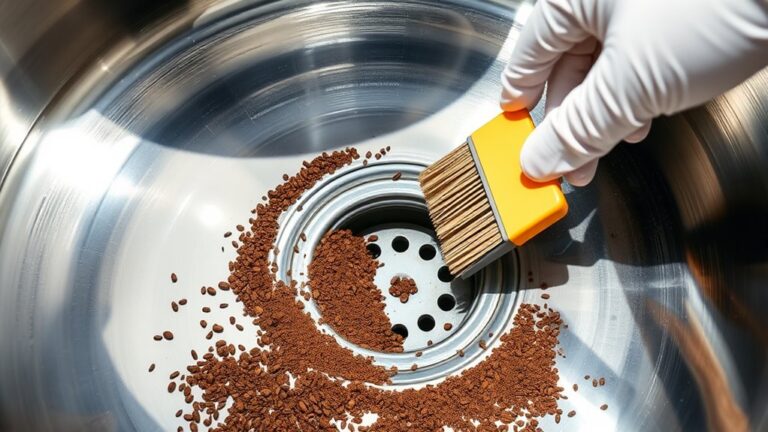
Step-by-Step Guide to Cleaning and Sanding Your Bathtub
Before applying any resurfacing products, it’s crucial to thoroughly clean and prepare the bathtub surface. Start by removing all soap scum, dirt, and grime with a non-abrasive cleaner and a soft sponge. Rinse thoroughly and dry completely.
Thoroughly clean, rinse, and dry the bathtub before resurfacing for optimal adhesion and a smooth finish.
Next, you’ll need to sand the surface to guarantee proper adhesion of the new coating. Use fine-grit sandpaper, working in gentle, even strokes, and wear safety precautions like a dust mask and safety glasses.
Sand until the surface feels rough and matte, which helps the resurfacing product bond effectively. If your bathtub offers color options, choose a shade that matches your decor or personal style before sanding.
Always work in a well-ventilated area and follow manufacturer instructions for safety. Proper cleaning and sanding are key to achieving a smooth, durable finish, and taking safety precautions protects you from dust and chemical exposure during the process.
How to Apply the Resurfacing Coating for a Smooth Finish
Once you’re ready to apply the resurfacing coating, make sure to mix it thoroughly according to the manufacturer’s instructions to get a smooth, even consistency. Use a high-quality brush or roller for the application, working in small sections to keep control and avoid overlap marks.
Start at one end of the bathtub and work your way across, applying thin, even layers to prevent drips and pooling. Be patient and steady — this helps you achieve a uniform look. After the first coat, check for any uneven spots or streaks and gently smooth them out before adding the next layer.
Finishing touches really matter. Use a small brush to tidy up edges and corners for a professional finish. Let the coating level naturally to create a smooth, flawless surface. Good technique and attention to detail will ensure your resurfaced bathtub looks great and lasts longer.
Drying, Curing, and Troubleshooting Common Issues
After applying your resurfacing coating, it’s important to give it enough time to dry and cure properly before using your bathtub. Good drying techniques include keeping the area well-ventilated and avoiding humidity, which can slow down the process.
Follow the manufacturer’s instructions for drying times, usually at least 24 hours. The curing process is key to getting a durable finish, and it typically takes several days to fully cure.
During this time, avoid contact with water or soaps, and don’t use the bathtub. If you notice bubbles, peeling, or a tacky surface after the drying period, troubleshooting is needed.
Common issues often come from incomplete curing, poor surface preparation, or environmental factors. To fix problems, lightly sand the affected areas and apply a thin coat of the resurfacing product again under ideal curing conditions.
Patience and proper drying techniques help ensure a long-lasting, professional-looking finish.
Tips for Maintaining Your Resurfaced Fiberglass Bathtub
Keeping your resurfaced fiberglass bathtub looking good is all about regular care. Just use gentle cleaning products—nothing too harsh—that won’t hurt the finish. Harsh chemicals can actually cause damage and shorten the life of your tub, so it’s best to steer clear of them.
Regular Cleaning Practices
Maintaining the pristine look of your resurfaced fiberglass bathtub requires regular cleaning to prevent buildup and damage. Consistent upkeep helps preserve its appearance and function while complementing your bathroom decor. Use gentle, non-abrasive cleaners to avoid scratching the surface.
For water conservation, try limiting rinse water as you clean. Here are some tips for effective maintenance:
- Wipe the tub with a soft cloth or sponge after each use
- Use mild soap or a vinegar-water solution for weekly cleaning
- Avoid harsh chemicals that can damage the surface
- Rinse thoroughly to prevent soap residue buildup
- Ventilate the bathroom to reduce humidity and mold risk
Following these practices keeps your bathtub looking new longer and maintains its protective finish.
Avoiding Harsh Chemicals
Using harsh chemicals on your fiberglass bathtub can cause irreversible damage, so it’s essential to choose cleaning products carefully. Instead, opt for gentle yet effective alternatives that are friendly to the environment.
Look for eco-friendly cleaning solutions made from natural ingredients, like vinegar, baking soda, or mild dish soap. These options help prevent damage to your resurfaced bathtub while keeping your space safe.
Avoid abrasive scrubbers and bleach-based cleaners, which can erode the surface over time. Regularly using mild, non-abrasive products helps preserve the finish and extend the lifespan of your bathtub.
Frequently Asked Questions
How Long Does a Resurfaced Fiberglass Bathtub Typically Last?
A resurfaced fiberglass bathtub typically lasts 10 to 15 years with proper care. How long it stays in good shape really depends on how well it’s prepared and how you take care of it afterward.
If you decide to go with different color options, make sure the surface is thoroughly prepped. This helps prevent peeling or chipping down the line.
Regular cleaning and avoiding abrasive scrubbers are key to keeping your new finish looking fresh. Proper surface preparation during resurfacing is crucial for durability.
Just follow the recommended guidelines closely, and you’ll enjoy long-lasting results that look great for years to come.
Can I Resurface a Bathtub With Existing Cracks or Damage?
If you notice cracks or damage, resurfacing can still work if you fix the issues first. For example, a homeowner with small cracks decided to repair them using crack repair techniques before resurfacing.
Proper surface prep is key. Clean the area thoroughly, sand affected spots, and make sure cracks are filled and smooth. This helps the new coating bond well.
When done right, you can get a seamless finish despite earlier damage. Addressing the cracks beforehand ensures a durable and attractive resurfaced bathtub.
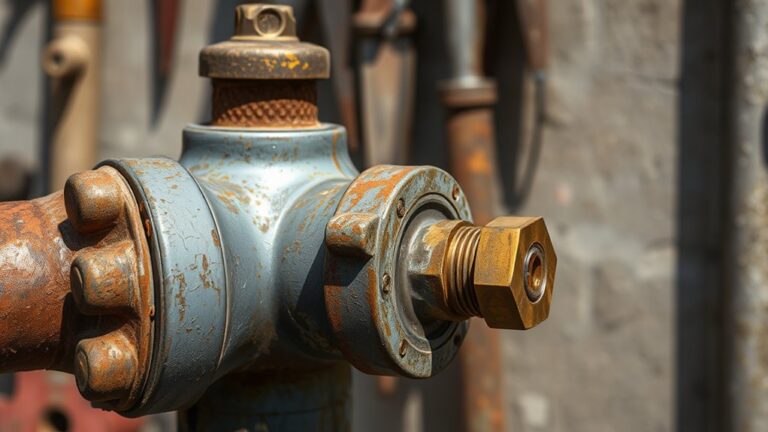
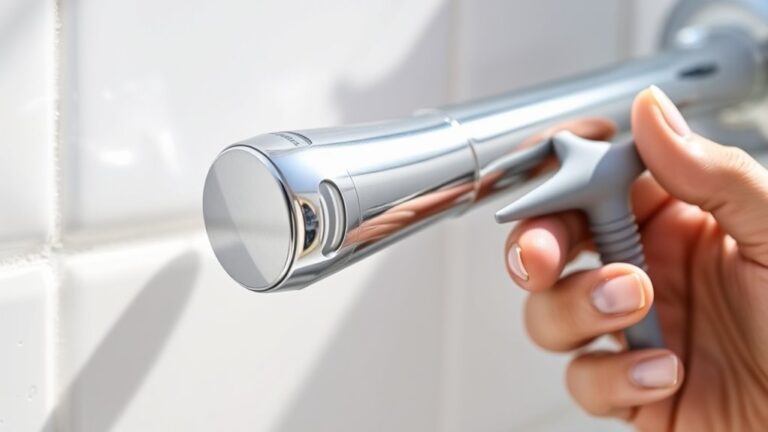
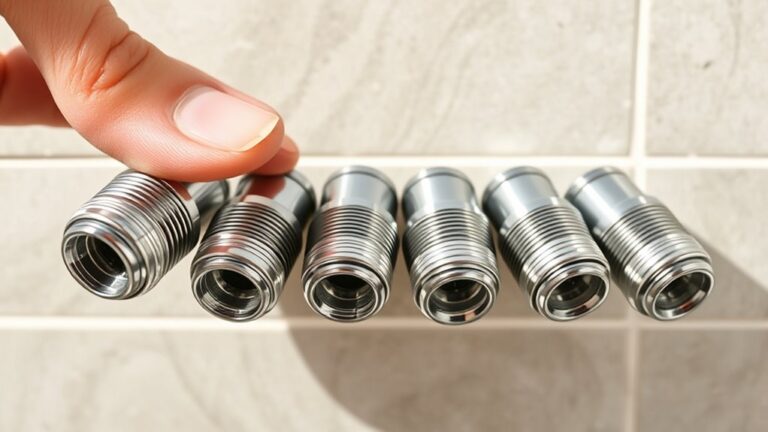
Is It Necessary to Remove All Fixtures Before Resurfacing?
Yes, you should remove all fixtures before resurfacing your bathtub. Fixture removal allows for proper surface preparation, making sure the resurfacing material sticks evenly and smoothly.
Leaving fixtures in place can cause uneven coating or even damage them during the process. Taking the time to remove fixtures helps create a clean working area and reduces complications.
This way, you’ll get a professional-looking finish. Always follow the manufacturer’s instructions for fixture removal and surface prep to get the best results.
Are There Safety Precautions I Should Take During the Process?
Yes, you should take safety precautions during the resurfacing process. Always wear protective gear, including gloves, goggles, and a mask, to shield yourself from chemical fumes and spills.
Make sure the bathroom is well-ventilated to avoid inhaling harmful vapors. Follow the manufacturer’s instructions carefully for chemical safety.
Doing so helps prevent skin irritation, respiratory issues, and accidents, making the resurfacing safer and more effective.
Can I Resurface a Bathtub Myself, or Should I Hire a Professional?
You can resurface your bathtub yourself, but keep in mind the DIY challenges involved, like surface prep and proper application of resurface materials. If you’re unsure or want to guarantee a quality finish, hiring a professional offers clear benefits, such as expert craftsmanship, durability, and saving time.
While DIY can be rewarding, professionals can handle intricate details and provide long-lasting results. This makes the investment worthwhile, especially if you want the best possible outcome.
Conclusion
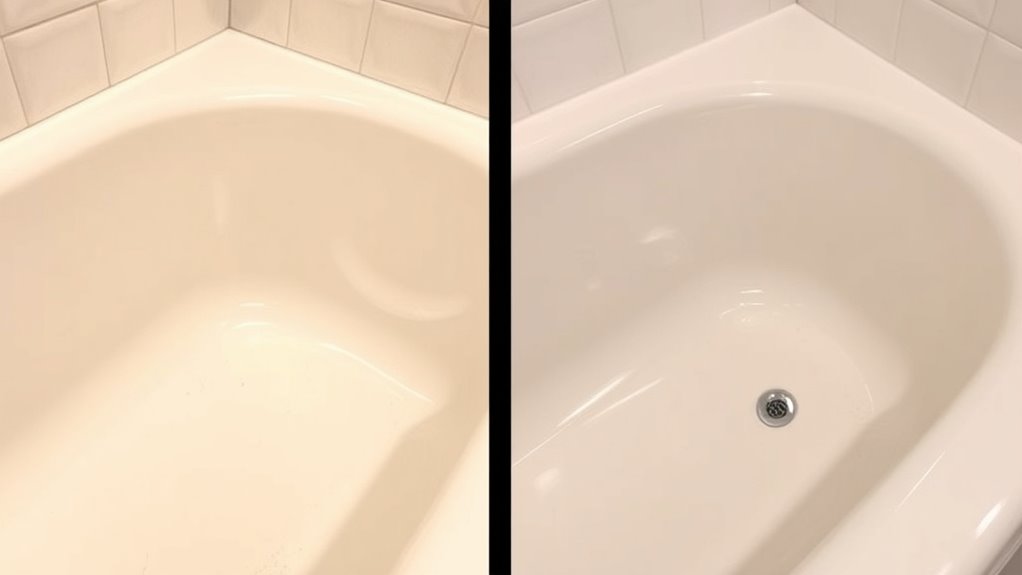
Resurfacing your fiberglass bathtub is like giving it a fresh coat of armor, protecting and renewing its beauty. When you follow these seven steps, you’re not just restoring your tub’s appearance but also helping it last longer.
Think of it as tending a garden. Regular care keeps everything flourishing. With a little patience and effort, you can turn a worn-out tub into a spotless centerpiece.
It’s amazing how a fresh surface can make your bathroom feel new again. Resurfacing your fiberglass tub is a practical way to upgrade your space and boost its overall look.