How to Determine if All Your Shower Arms Are Removable
Many homeowners find themselves frustrated when trying to upgrade or replace their shower fixtures, only to wonder if the shower arms can be removed. You’re not alone—figuring out if your shower arms are removable can be tricky, especially if you’re new to DIY plumbing.
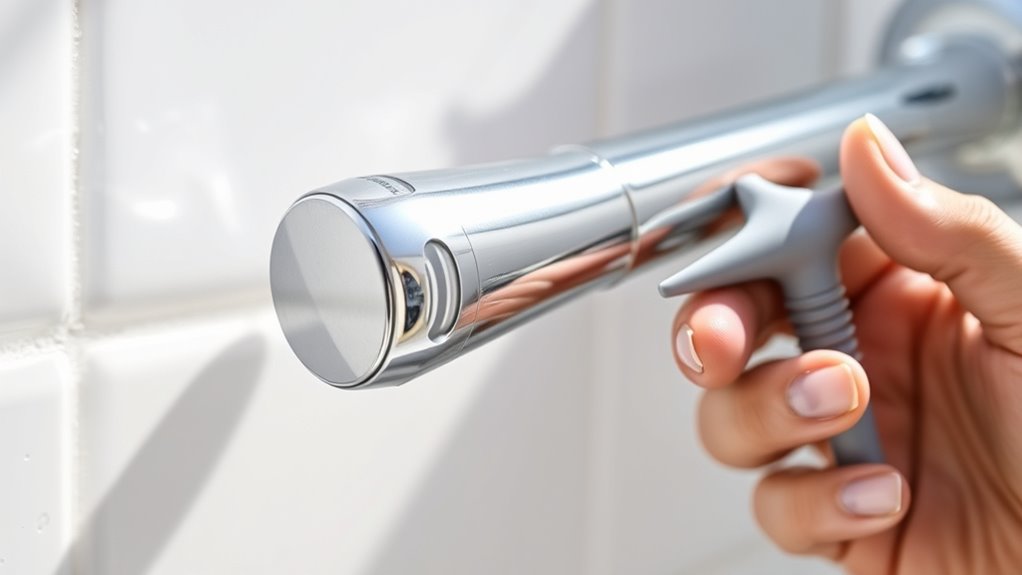
To determine if your shower arms are removable, inspect their connection points for signs of looseness, rust, or mineral buildup. Gently try turning or wobbling the arm with your hand or a tool—if it moves easily, it’s likely removable.
Look for common connection types like threaded or push-fit fittings. If you encounter resistance, corrosion, or stubbornness, further inspection and proper tools can help. Keep investigating to uncover more tips and troubleshooting advice.
Key Takeaways
- Gently twist the shower arm and see if it turns smoothly or feels loose. If it does, it might be removable.
- Look closely for any chips, seams, rust, corrosion, or mineral buildup around where the arm connects. These signs can help you tell if it’s removable.
- Check what type of connection it has, like threaded NPT or IPS, to see how easy it might be to remove.
- Use a wrench with padding to carefully test if the arm turns easily without too much resistance.
- If you feel a lot of resistance, or if there’s damage or corrosion, it’s best to ask a professional to remove it safely.
How to Identify If Your Shower Arm Is Removable
To figure out if your shower arm is removable, start by checking where it connects to the shower wall or pipe.
Look closely at how it fits—if it feels loose or you can twist it easily, chances are it’s removable.
If it feels loose or twists easily, your shower arm is probably removable.
Decorative finishes like polished chrome or brushed nickel can hide the connection, but gently testing for movement can give you a clue.
If the shower arm feels tight and secure, it might be fixed, but if you notice some wiggle or can unscrew it by hand, then it’s probably removable.
Keep in mind that the type of shower head and arm can affect water pressure; removable arms often help keep the flow steady when they’re cleaned or replaced.
Basically, paying attention to these visual signs and how much it moves will tell you if you can easily remove the shower arm for cleaning or replacing.
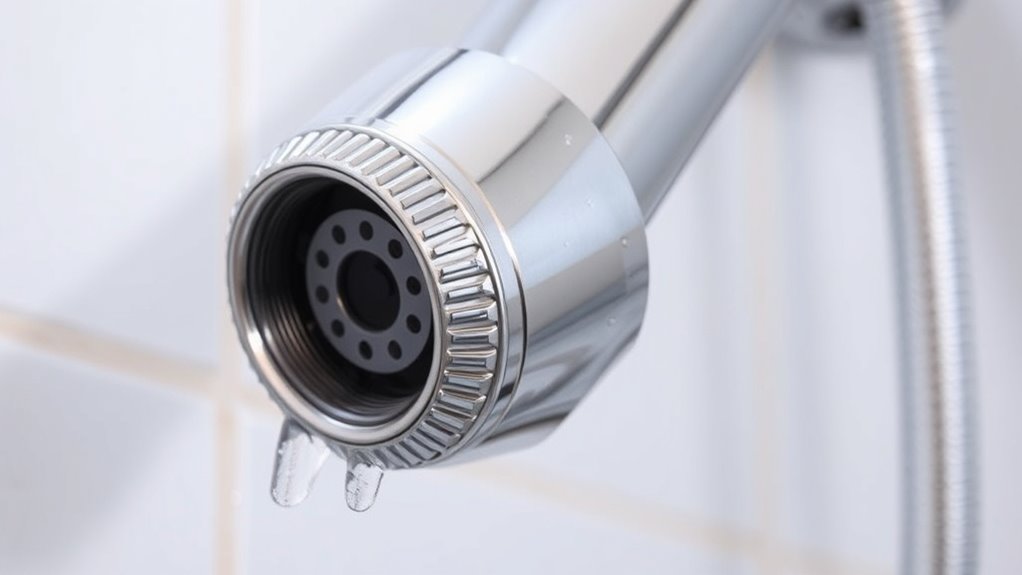
Look for Visible Signs That Your Shower Arm Can Be Removed
Visible signs can quickly tell you if your shower arm is removable. Check the decorative finishes; if they look uneven, chipped, or have visible gaps, it might mean the arm is detached or can be unscrewed.
Look carefully at where the shower arm meets the wall. Many removable ones have a visible seam or slight rotation, which suggests they can be unscrewed easily.
Also, observe the water flow. If the pressure or spray patterns are inconsistent, the shower arm might be loose or designed to come off.
Sometimes, a removable arm will have a smooth, clean surface without any paint or overlays hiding the connection.
If the finish looks sealed or cemented, it’s probably fixed in place. Paying attention to these signs can help you figure out if your shower arm can be removed without guesswork.
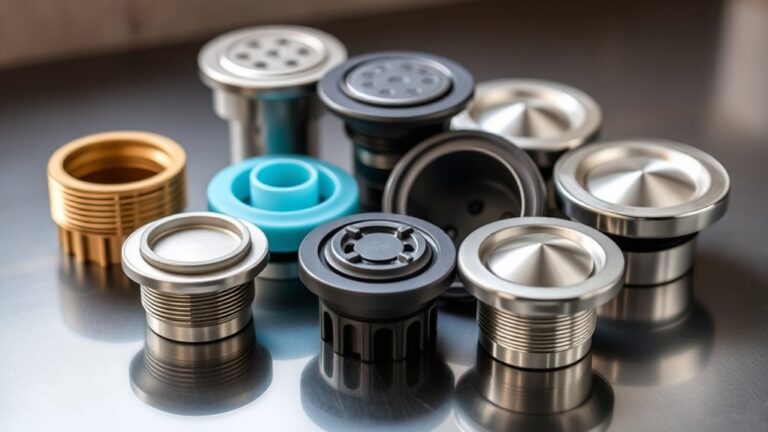
Types of Shower Arm Connections You Should Know
Knowing about the different types of shower arm connections can really help you figure out which ones are removable. You’ll come across things like threaded connections, flanged shower arms, and push-fit methods — each with its own little quirks.
Getting familiar with these types makes it much easier to maintain or swap out your shower arms whenever you need to. It’s always good to know what you’re working with before you start any repairs or upgrades!
Threaded Connections Types
Knowing the different types of threaded connections is essential when checking if your shower arms are removable. These connections decide how easily you can detach or replace your shower head, which impacts tile maintenance and water pressure.
The two most common types are NPT (National Pipe Thread) and IPS (Iron Pipe Size). NPT has tapered threads and seals with plumber’s tape. It’s usually easier to unscrew.
IPS features straight threads and is often sealed with a washer. It tends to be more durable and a bit more difficult to remove. If your shower arm uses NPT threads, removing it is usually straightforward.
This makes cleaning or repair simpler. Knowing your connection type helps prevent unnecessary damage and helps maintain optimal water pressure.
Flanged Shower Arms
They’re often used in standard setups, where the flange hides the threading and keeps everything looking clean. When you need to change the shower height, these arms are usually fixed but can sometimes be removed for upgrades.
To see if the arm is removable, check if the flange can be unscrewed or taken off. Knowing this makes it easier to decide whether you can update your shower setup yourself or need a pro to help.
Push-Fit Connection Methods
| Material Compatibility | Design Considerations | Ease of Removal |
|---|---|---|
| Copper & Brass | Sealed connection, no threads. | Simple to detach. |
| Plastic | Flexible and lightweight. | Easy to reset. |
| Mixed Material | Use compatible fittings. | Varies, check fit. |
Understanding these factors helps you choose the right push-fit method for your shower arm.
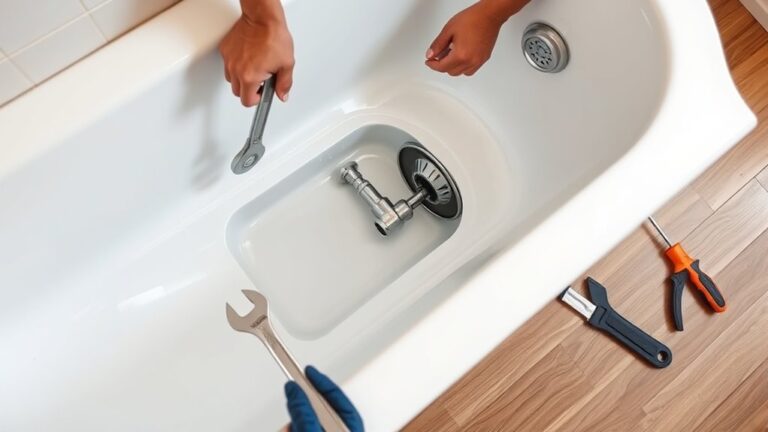
Use the Right Tools to Remove or Inspect Your Shower Arm
Have you chosen the right tools to remove or inspect your shower arm? The tools you use can help prevent damage and make the process smoother, depending on the type of shower arm and water pressure levels.
Start with these essentials: an adjustable wrench, which ensures a snug fit without damaging chrome or brass surfaces. Rags or painter’s tape can protect delicate finishes and avoid scratching.
Faucet pliers are helpful for stubborn or corroded arms, especially if there’s rust or buildup involved. Before you begin, check your shower arm’s material; brass needs gentle handling, while older chrome might be more fragile.
Using the right tools reduces the risk of stripping threads or cracking fixtures. They also help you get a good grip without applying excessive force, making removal or inspection safer and more efficient.
How to Tell If Your Shower Arm Is Rusted or Stuck
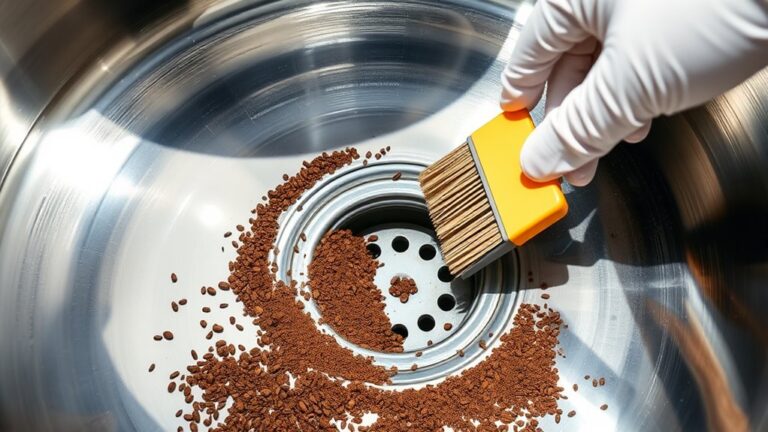
Want to find out if your shower arm is rusted or stuck? Start by giving it a good look — check for any signs of rust, corrosion, or discoloration. These can be your clues that it might be in trouble.
Next, try turning the shower arm by hand. If it doesn’t move easily and takes a lot of force, that’s a red flag. But be careful not to squeeze too hard; forcing it too much could damage the fixture or make the situation worse. So, take it slow and steady!
Visual Corrosion Inspection
A visual corrosion inspection is your first step in figuring out if your shower arm is rusted or stuck. Take a close look for signs of corrosion, which can point to material issues down the line.
Here are three key things to check:
- Rust or discoloration: Brownish or reddish spots suggest rust, usually from long water exposure.
- Mineral buildup: White or greenish deposits can hide corrosion and reduce water pressure.
- Surface pitting: Small holes or rough patches may weaken the shower arm, making it more likely to break.
Spotting corrosion early helps you catch problems before water pressure drops or your fixtures get worse. Regular inspections keep your shower working well and help your fixtures last longer.
Ease of Turning
If your shower arm feels difficult to turn or requires excessive force, it might be rusted or stuck because of mineral buildup or corrosion. This can make it hard to regulate the temperature, so getting the right hot or cold mix becomes tricky.
Stuck shower arms can also lower water pressure, which reduces your shower’s effectiveness. When turning the arm, pay attention to how smoothly it moves. If it’s stiff or feels gritty, corrosion or deposits might be binding the parts.
A rusted or stuck arm can stop proper adjustments, leading to inconsistent water flow or temperature issues. If turning the arm requires a lot of effort, it’s probably time to remove or replace it to restore good function and reliable temperature control and water pressure.
Excessive Force Needed
When turning your shower arm requires more force than usual, it’s often a sign that the fitting has become rusted or stuck. This can happen because of poor shower arm design or mineral buildup, which can cause water pressure issues and make removal harder.
To figure out if your shower arm is rusted or stuck, look for these signs:
- You feel a lot of resistance even with gentle attempts to unscrew it.
- The shower arm shows visible rust or corrosion, especially at the base.
- Turning it causes water pressure problems or irregular spray patterns.
If you notice these signs, it’s best not to force it. Forcing it could damage the fitting. Applying penetrating oil or heat can help loosen things up and make removal easier without causing harm.
Test If Your Shower Arm Moves Freely
Before trying to remove your shower arm, check if it moves easily by gently grasping it and attempting to rotate or wiggle it. If it spins smoothly without resistance, that’s a good sign it’s removable.
A loose fit can help prevent damage to the pipe or connections and often improves water pressure, resulting in a stronger shower spray. However, if the arm feels stiff or won’t move with gentle effort, it may be threaded tightly or stuck from mineral buildup.
In that case, applying some penetrating oil might loosen it up. But don’t force it, as that could cause damage. Moving the arm freely first also makes sure no stubborn fittings are blocking removal later.
Confirming that the shower arm can rotate smoothly is key. It shows if it’s removable and helps avoid unnecessary damage during the removal or replacement process.
Troubleshooting: What If Your Shower Arm Won’t Come Off?
If your shower arm isn’t coming loose, first take a look for any corrosion or rust that’s keeping it stuck. Sometimes, mineral buildup or rust can make it a real challenge to remove. If you see any, try applying some penetrating oil and give it a few minutes to work its magic.
Once you’ve let the oil sit, grab the right tools—like a pair of pliers or a wrench—and gently try to loosen the shower arm. Just be careful to avoid damaging the fittings or scratching the finish. Patience is key here, and taking it slow will help you avoid any extra headaches.
Check for Corrosion or Rust
Corrosion or rust can strongly stick your shower arm to the fitting, making it tough to remove. Over time, mineral buildup or moisture can cause rust, which can make shower head maintenance more complicated and could affect water pressure.
To check for rust, first, visually inspect the connection for reddish-brown or greenish deposits. Feel around the joint for roughness or rough spots that might indicate rust buildup. Gently tap the area with a screwdriver or tool—if you hear a gritty or crunchy sound, corrosion is likely present.
If rust is found, it’s a sign that the shower arm may be stuck. Addressing corrosion helps prevent damage and makes it easier to remove the arm when you need to do repairs or upgrades.
Apply Penetrating Oil
When your shower arm refuses to budge despite your efforts, applying penetrating oil can be a game-changer.
Historically, plumbing relied on simple tools and manual fittings, but shower arm styles have evolved, sometimes locking tightly in place. The oil seeps into threads, breaking up corrosion or mineral buildup that often causes stubbornness.
Spray the oil generously around the connection, and let it sit for at least 15 minutes. This allows the oil to penetrate deeply into rust or grime, easing removal.
Use Appropriate Tools
Sometimes, stubborn shower arms won’t budge despite your best efforts, and using the right tools can make all the difference. First, grab a pair of adjustable pliers or channel-lock pliers, which give a firm grip without damaging your bathroom decor.
Second, use a cloth or rubber pad between the tool and the shower arm to prevent scratching. If the arm still won’t turn, try applying heat with a hairdryer to expand the metal before turning again.
When to Call a Plumber for Shower Arm Issues
If you notice persistent leaks, low water pressure, or trouble attaching or removing the shower arm, it’s time to call a plumber. These issues often point to hidden pipeline problems or a damaged, corroded shower arm that can affect water flow. Ignoring these signs can lead to bigger damage and costly repairs.
Think about these situations and how urgent they are:
| Issue | When to Call a Plumber | Potential Cause |
|---|---|---|
| Persistent leaks after DIY fixes | Call immediately | Damaged or corroded pipe connections |
| Water pressure stays low | When cleaning doesn’t improve it | Internal pipe blockage or buildup |
| Shower arm won’t unscrew or tighten | If tools don’t work, call promptly | Severe corrosion or threading damage |
| Frequent leaks despite repairs | Call as soon as it happens | Long-term pipeline failure |
| Sudden drop in water flow | At the first sign of trouble | Critical pipeline issues |
Getting help quickly ensures your pipes stay in good shape, saves you money, and gets your water pressure back to normal.
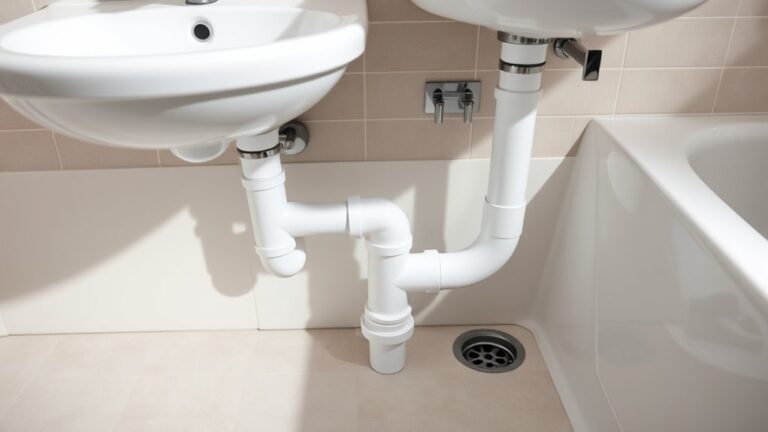
Tips for Safely Replacing or Cleaning Your Shower Arm
Replacing or cleaning your shower arm can be simple if you follow some safety tips. First, turn off the water supply to prevent leaks or water damage.
Next, use a cloth or painter’s tape around the fitting to avoid scratching or damaging delicate fixtures, especially in older, historic showers.
Finally, apply gentle, steady force when removing the arm to prevent cracking or damage, keeping environmental impact in mind.
Here’s a quick guide to do it safely:
- Turn off the water and gather your tools, like an adjustable wrench.
- Cover the fittings with a cloth or painter’s tape to protect them.
- Carefully unscrew the shower arm, applying even pressure.
FAQs: Common Questions About Shower Arms
Are you wondering whether all your shower arms are removable? This is a common question that depends on things like how your shower arm is aligned and water pressure.
To see if your shower arms can be replaced or cleaned easily, look for signs like loose fittings or visible threads.
Here’s a quick reference:
| Question | Answer | Notes |
|---|---|---|
| Can I remove my shower arm? | Usually, yes, if it has threaded connections. | Check if it’s not glued or sealed. |
| How does shower arm alignment affect removal? | Misaligned arms may be harder to unscrew. | Use pliers if needed but be careful not to damage it. |
| Will water pressure change after removal? | It might change temporarily until it’s reinstalled properly. | Properly aligned arms help optimize flow. |
| Do I need special tools? | Usually just a wrench or pliers. | For stuck arms, avoid using too much force. |
Knowing these FAQs helps you confidently assess your shower setup and handle removals with ease.
Frequently Asked Questions
Can All Shower Arms Be Removed Without Special Tools?
Not all shower arms can be removed without special tools. They come in different designs—some have simple threaded connections that you can loosen by hand.
Others might require a removal tool because of tight or unique fittings. To figure out which you have, check if the shower arm is smooth or has a wrench flat. If it has a flat spot, using tools like pliers or a spanner makes the job easier and helps prevent damage.
How Often Should I Inspect My Shower Arm for Damage?
You should inspect your shower arm for damage at least once every six months as part of your DIY maintenance. Check for corrosion, leaks, or cracks in the shower arm materials.
These issues can affect water flow or cause leaks, so regular inspections help catch problems early and prevent bigger issues down the line.
If you notice any damage or wear, replace or repair the shower arm promptly to keep your shower functioning smoothly.
Are There Different Removal Methods for Plastic vs. Metal Shower Arms?
Think of plastic and metal shower arms as different creatures with distinct needs. Plastic arms usually twist off easily by hand or with gentle tools, while metal ones often need a wrench and some effort to avoid damage.
Removal techniques vary: plastics shy away from force, risking cracks, so warming them with water can soften them. Metals can handle more force but need careful grip to prevent stripping threads.
What Signs Indicate My Shower Arm Needs Replacing?
If your water pressure suddenly drops or you notice leaks around the shower arm, it’s probably time to replace it.
Corrosion, rust, or visible cracks are clear signs that it’s deteriorating. Addressing these issues quickly is important for plumbing safety.
Regular inspections can help ensure your shower works properly and prevent water damage.
If your shower arm shows signs of wear or damage, replacing it restores good water flow and keeps your plumbing safe.
Can a Stubborn Shower Arm Be Removed Safely at Home?
A stubborn shower arm can often be removed safely at home if you’re cautious. Start by turning off the water supply and using a cloth or tape to protect the pipe.
Apply penetrating oil to help loosen any rust or corrosion that might be making it hard to remove. This can make a big difference if the shower arm is stuck due to corrosion.
Use an adjustable wrench and turn it carefully to unscrew the shower arm. Keep in mind that high water pressure can make the removal trickier.
If it won’t budge after trying these steps, it’s a good idea to call a plumber. Pushing too hard might cause damage, so it’s better to get professional help if needed.
Conclusion
Now that you know how to spot and remove your shower arm, are you ready to tackle that stubborn fixture?
Being confident about whether your shower arm is removable can save you time and prevent potential damage.
Take your time, use the right tools, and don’t hesitate to call a plumber if needed.
A little maintenance can go a long way in keeping your shower functioning perfectly, so why not get started today?