7 Things You Should Know About All Pfister Shower Valve Compatibility
Many homeowners get stuck trying to figure out which Pfister shower valve will fit their bathroom setup. It can be confusing and frustrating, especially with so many options and technical details to consider. You’re not alone—many people struggle with ensuring compatibility and proper installation.
To guarantee your Pfister shower valve fits and performs well, check your plumbing’s water pressure, flow rate, and pipe size first.
Know the type of valve you need—pressure-balanced, thermostatic, or diverter—and confirm compatibility with your existing setup.
Watch out for installation challenges like fitting wall thickness and connection types. If you’re unsure or run into problems, it’s best to consult a professional.
Keep going to explore more tips for a smooth, reliable installation.
Key Takeaways
- Confirm that your water pressure is at least 20 psi and the flow rate is 1.5 GPM or more to make sure the valve works properly.
- Match the valve size and connection type, ideally ½ inch, to your existing plumbing setup.
- Identify which type of valve you need: pressure-balance, thermostatic, or diverter, based on your shower configuration.
- Check that materials and finishes match your bathroom fixtures for a cohesive look.
- If you’re unsure about plumbing configuration or compatibility, it’s a good idea to get professional help.
How to Check If Your Plumbing Is Compatible With a Pfister Shower Valve
To figure out if your plumbing works with a Pfister shower valve, start by looking at your current setup. Check your water pressure, since Pfister valves usually need at least 20 psi to work well. If the pressure is too low, your flow rate might be poor.
Check water pressure and pipe size to ensure compatibility with your Pfister shower valve.
Next, measure the flow rate by turning on hot and cold water, then timing how long it takes to fill a 1-gallon container. You’ll want at least 1.5 gallons per minute for the best performance.
Take a look at your existing pipes too. They should match the valve’s inlet connections. If you’re using standard ½-inch connections, your plumbing is more likely to be compatible.
Some Pfister valves fit multi-head setups, but it’s important to double-check that your water pressure and flow rate meet the requirements. Doing this helps ensure a smooth install and reliable shower operation.
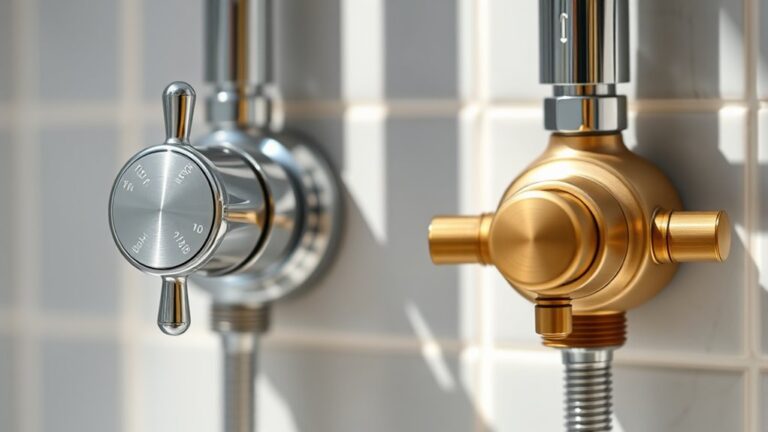
What Types of Pfister Shower Valves Are Available and How They Differ
Pfister has a variety of shower valves to choose from, each tailored for different needs and setups. Whether you’re replacing an old valve or installing a new shower, you’ll find options that suit your specific situation. These valves differ in their design, compatibility with different shower models, and how they get installed.
Getting to know these differences can really help you pick the perfect valve for your shower—making sure it works smoothly and meets your preferences.
Valve Type Variations
Different shower valve types serve specific functions and compatibility needs, making it essential to understand your options. Pfister offers various valve types, such as pressure-balance, thermostatic, and diverter valves, each designed for different performance and control.
Pressure-balance valves help maintain consistent water pressure even when other fixtures are used, while thermostatic valves allow for precise temperature control. Diverter valves make it easy to switch between multiple shower outlets.
Valve materials also matter. Brass and stainless steel are common choices because they’re durable and long-lasting. The type you choose impacts water pressure regulation, ease of use, and how long your valve will last.
Picking the right valve ensures compatibility with your shower system and helps extend its lifespan.
Compatibility With Models
Understanding which Pfister shower valve models work with your setup is key for the right fit and function. Different models come with features like water pressure control and temperature regulation.
Some valves are single-handle, so they control both water flow and temperature. Others are dual-handle, giving you more precise adjustments. Compatibility depends on your plumbing and fixtures.
Here’s a quick comparison:
| Model Type | Water Pressure | Temperature Regulation | Best For |
|---|---|---|---|
| Pfirst Series | Moderate | Basic | Standard showers |
| Pfirst Pro | High | Precise | Multi-function setups |
| Gauge Valve | Adjustable | Fine-tuned | Custom temperature control |
| 3-Handle Valve | Variable | Manual | Older plumbing systems |
| Single-Handle | Consistent | Rapid adjustments | Modern, quick-shower needs |
Choosing the right model ensures great performance in water pressure and temperature control.
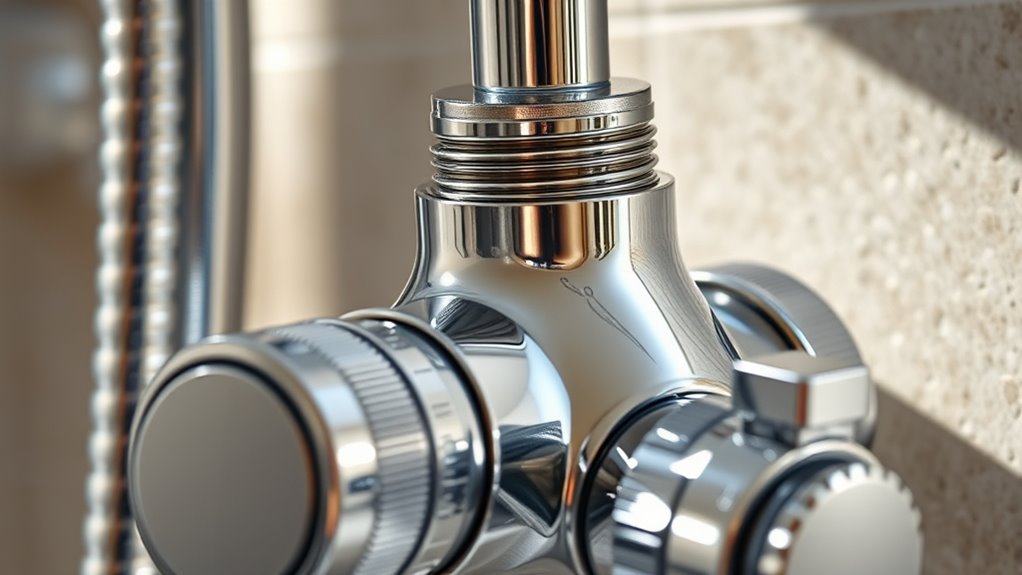
Installation Requirements
When selecting a shower valve, understanding the types available and how they differ helps ensure you get a proper fit for your shower setup. Pfister offers various valve types, such as pressure-balancing, thermostatic, and thermostatic-pressure balance valves, each with unique installation needs.
Make sure your plumbing system can support the correct water pressure for your chosen valve. Some valves require higher or adjustable pressure to work properly. Temperature control is crucial, so check if your setup can handle thermostatic valves, which provide precise control.
Also, verify wall thickness, compression fittings, and compatibility with your existing plumbing. Proper installation ensures reliable water pressure and accurate temperature control.
This prevents issues like sudden temperature changes or poor flow. Following these requirements guarantees safe and efficient operation of your Pfister shower valve.
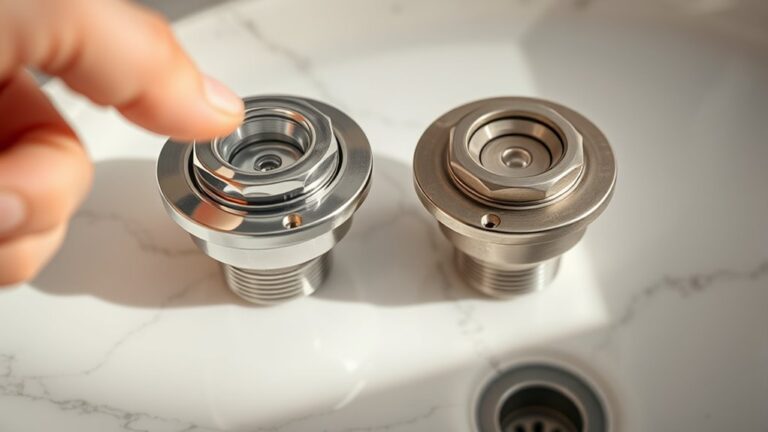
Features to Consider for Pfister Shower Valve Compatibility
To guarantee your Pfister shower setup works smoothly, you need to consider specific features that determine compatibility. First, think about the design aesthetics—make sure the valve matches your bathroom’s style and fixtures for a seamless look.
Compatibility also depends on the valve’s size and connection type, which should match your plumbing setup. Water pressure is another key factor; a compatible valve needs to handle your home’s flow to avoid weak streams or pressure swings.
Check the recommended pressure range for the valve and compare it to your household pressure. Also, look at the finish options to match other fixtures and ensure the material is durable for your needs.
These features help prevent installation issues and ensure smooth operation. Being mindful of aesthetic and water pressure compatibility will save you time and avoid costly modifications later.
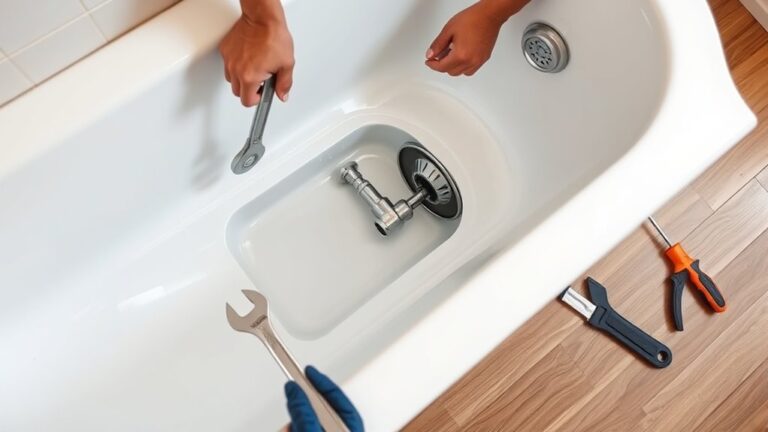
Common Installation Challenges With Pfister Shower Valves
Installing a Pfister shower valve can sometimes be a bit tricky, especially if your current plumbing setup isn’t quite compatible. You might find yourself needing to make some extra adjustments to get everything working smoothly.
It’s also really important to double-check that the valve is properly aligned. If it’s not, you risk leaks or the shower not working right.
Paying attention to these common issues can save you a lot of time and hassle, making the whole installation process much easier and more successful.
Compatibility With Existing Plumbing
If your current plumbing system has irregular pressure, you might need adjustments or additional parts to keep things running smoothly. Also, make sure the aesthetic design of the valve matches your existing fixtures; mismatched styles can detract from your bathroom’s look.
It’s important to verify that your plumbing connections fit the valve’s specifications before installation. Ignoring these details can lead to leaks, low water pressure, or delays in the project.
Taking the time to assess your plumbing system beforehand can save you frustration and help your new Pfister shower valve work perfectly within your setup.
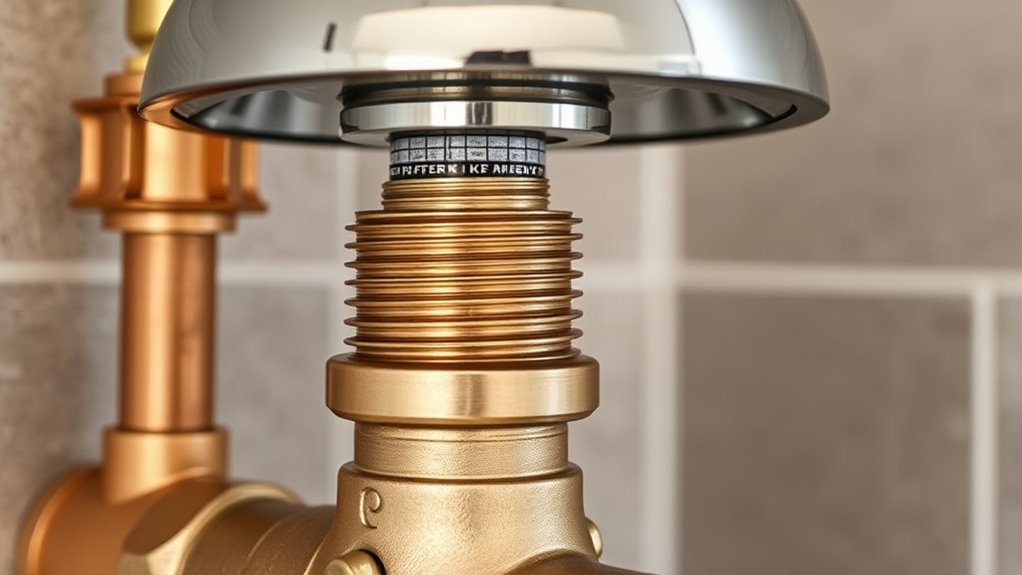
Securing Proper Valve Alignment
To avoid common problems, start by verifying the valve’s position before tightening. Make sure it’s level and centered for the best fit.
Handle the valve carefully, following proper procedures to prevent damage to the delicate internal parts.
Check that the valve lines up with your existing plumbing connections, especially if you’re working with older systems.
After installation, test the water pressure to confirm flow isn’t restricted due to misaligned components.
Aligning the valve properly ensures smooth operation and helps prevent future leaks or performance issues.
Taking your time to get it right now will save you headaches down the road.
Tips for a Smooth Install of Your Pfister Shower Valve
Getting your Pfister shower valve set up smoothly starts with careful preparation. Make sure you have all the necessary tools, parts, and instructions before you begin. Also, check that your water supply is turned off to prevent leaks.
Properly aligning the valve is important. It not only looks good but also helps your bathroom’s design. Use the table below to guide you through each step:
| Step | Tip | Details |
|---|---|---|
| 1 | Verify compatibility | Confirm the valve matches your plumbing setup |
| 2 | Mark the placement | Use a level and markings for precise positioning |
| 3 | Test for water conservation | Check for leaks and ensure efficient flow |
This preparation reduces issues during installation and ensures your system works well and looks great. Be sure the valve supports water-saving features, which can save you money and resources in the long run. A smooth install means a better shower experience overall.
When and Why to Consult a Professional for Pfister Valve Compatibility
While preparing to install your Pfister shower valve, it’s important to know when you should call in a professional. If you run into issues that impact how your shower looks or how efficiently it uses water, getting expert help can save you time and avoid costly mistakes.
Reach out if you’re unsure whether your existing plumbing will work with the new valve. If the installation affects your shower’s appearance or overall style, a pro can help ensure everything looks seamless.
If you want to improve water efficiency but aren’t sure how to adjust the valve properly, an expert can guide you. Complex modifications or unexpected plumbing fixtures are also good reasons to seek professional assistance.
A professional will make sure everything fits and works correctly, helping keep your bathroom sleek and functional. They can suggest the best options to meet your aesthetic goals and maximize water savings.
Ultimately, consulting an expert protects your investment and makes the installation process smooth and confident.
Troubleshooting When Your Pfister Shower Valve Doesn’t Fit or Work Properly
If your Pfister shower valve isn’t fitting or working properly, it’s important to find the issue quickly to avoid more damage or leaks. First, check the design aesthetics, as sometimes incorrect installation or mixing models can cause fit problems.
Use a tape measure to make sure you’re using the right size and type of valve for your shower. Then, look at the water pressure; low pressure can make the valve feel unresponsive or inconsistent.
Clean off any mineral buildup or debris that might be blocking the valve or restricting flow. If the handle feels loose or doesn’t turn smoothly, the internal parts could be misaligned or worn out.
Always double-check that you’re installing the valve according to the manufacturer’s instructions. A mismatch in compatibility or rough handling can lead to problems.
Proper troubleshooting means inspecting each part, verifying compatibility, and making sure the installation matches your shower system’s design.
Frequently Asked Questions
Can I Upgrade My Old Shower Valve to a Pfister Model?
Yes, you can upgrade your old shower valve to a Pfister model, but you’ll need a proper valve replacement. First, check your current shower head compatibility and verify it fits the new Pfister valve.
If your existing plumbing connections match, the upgrade becomes straightforward. However, if they don’t, you might need adapters or professional help.
Upgrading improves shower performance and control, making your shower experience more enjoyable.
Are Specific Tools Needed for Pfister Shower Valve Installation?
Like a tailor crafting a perfect suit, your installation process depends on the right tools. For a Pfister shower valve, you’ll need specific tools such as an adjustable wrench, screwdriver, and possibly a pipe cutter, depending on your setup.
Having these tools on hand makes the installation smoother. Without the proper tools, you risk damaging components or prolonging the job. So, gather everything beforehand to ensure a seamless upgrade to your shower experience.
How Long Does a Typical Pfister Shower Valve Installation Take?
A typical Pfister shower valve installation usually takes about 2-4 hours. How long it actually takes depends on your experience and how complex your plumbing setup is.
You’ll probably need basic tools like a wrench, screwdriver, and plumber’s tape. But keep in mind, specific tools might vary depending on your situation.
Getting everything prepared beforehand and following the manufacturer’s instructions can really help speed things up. This makes the process smoother and helps ensure your shower works properly afterward.
Does Water Pressure Affect Pfister Shower Valve Performance?
Water pressure does affect Pfister shower valve performance. Too high or low water flow can lead to inconsistent temperatures and weaker spray.
The valve’s pressure regulation feature helps keep water flow steady, preventing fluctuations. If your water pressure isn’t right, the valve might have trouble delivering the experience you want.
It’s a good idea to check your water pressure regularly. Make sure the valve’s pressure regulation is working properly for the best performance.
Are There Any Warranty Considerations for Incompatible Pfister Valves?
Warranty nuances can be tricky, like a maze, if your Pfister valve isn’t compatible.
Incompatible valves often void replacement policies, leaving you on your own for repairs.
You should check warranty specifics before installation to guarantee coverage stays intact.
Pfister’s warranty usually covers defects, but compatibility issues might not be included, so always verify product compatibility to avoid losing warranty benefits and future support.
Conclusion
In the end, making sure your plumbing is compatible with a Pfister shower valve might seem tricky. But really, it’s about paying attention to the small details—like checking the existing setup or consulting a professional.
Sometimes, a simple check can save you from big headaches later. Many homeowners find that understanding these minor points helps avoid major issues down the line.
Take your time, explore your options, and trust that the right fit is out there. Your ideal shower setup could just be one step away with a Pfister shower valve.