How to Replace a Bathtub Shower Combo in 10 Steps
Are you tired of dealing with an outdated or leaking bathtub shower combo? You’re not alone—many homeowners struggle with bathroom upgrades and repairs.
Replacing your shower setup might seem daunting, but with the right steps, it can be straightforward and rewarding.
To replace a bathtub shower combo, start by verifying if you need a full replacement or just repairs.
Gather your tools and materials beforehand, then turn off the water and drain the old setup.
Carefully remove the existing unit, inspect and prepare your plumbing for the new installation, and securely install the new bathtub shower combo.
Connect the plumbing, check for leaks, and seal all edges with caulk.
For a smooth, leak-free finish, continue with these steps to guarantee your new shower functions perfectly.
Key Takeaways
- Assess whether repair or full replacement is best for the shower’s condition, safety, and look.
- Gather your tools and materials, then organize your workspace before starting removal or installation.
- Turn off the water supply, drain any remaining water, and carefully remove old fixtures and surround.
- Measure to find the right bathtub shower combo, then securely install it, making sure plumbing connections are correct.
- Test for leaks, seal gaps with caulk, and do a final inspection to ensure everything is safe and watertight.
Decide If You Need to Replace Your Bathtub Shower
Before you decide to replace your bathtub shower, assess whether repairs or updates could do the trick. Sometimes, adding decorative accents like new tiles, trim, or fixtures can completely transform the space without full replacement.
These small changes can improve your bathroom’s look and fix minor issues like chips or discoloration. But safety should always come first. If your current setup has leaks, mold, broken tiles, or unstable fixtures, replacing it might be necessary to prevent more damage and keep things safe.
Think about the age and condition of your tub and shower. If repairs are ongoing or extensive, replacing the whole unit might be more cost-effective and safer overall.
Also, consider your style preferences and the overall look of your bathroom. This can help you decide whether a simple upgrade will do or if a full replacement is the way to go.
In the end, carefully evaluate the current condition, safety concerns, and your aesthetic goals. That will help you decide if a quick fix or a complete replacement is the best move.
Gather the Tools and Materials You’ll Need
Once you’ve decided to replace your bathtub shower, gathering the right tools and materials sets the stage for a smoother project. You’ll want to make sure you have everything from wrench sets to sealant, which can help reduce delays and frustration.
Being prepared lets you focus on effective cleaning tips and choosing design ideas that boost your bathroom’s look. Here’s a quick list of essential items:
| Tools | Materials |
|---|---|
| Adjustable wrench | New shower faucet and fixtures |
| Screwdriver | Shower pan and liner |
| Utility knife | Waterproof caulk |
| Tile scraper/brush | Replacement tiles or paint |
| Level | Silicone sealant |
Gathering these supplies ahead of time keeps your work organized and helps you visualize your updated design ideas while maintaining a clean workspace. Proper preparation ensures your project is efficient and satisfying.
Turn Off the Water and Drain Your Old Shower
First, find your main water shutoff valve and turn it off. This way, you won’t have any leaks or surprises when you start. Then, go ahead and open up the fixtures—like the showerhead and any connected valves—to let out any water still sitting in the pipes and your old shower. It’s a good idea to make sure all the water’s drained out so you don’t end up with a mess when you start removing the old shower.
Locate Main Water Shutoff
Have you located the main water shutoff valve yet? It’s essential before starting your bathtub shower replacement. Once found, turn it off to prevent water flow, saving water and practicing good water conservation.
Shutting off the main valve also helps prevent accidental flooding, which can lead to mold growth in your bathroom. After turning off the water, open your fixtures to drain any remaining water. This reduces mess and water waste.
Knowing the exact location of your shutoff varies by home but is often in the basement, utility closet, or near the main street line. Confirm the water’s off by running a faucet; if no water flows, you’ve successfully shut off the supply.
Properly turning off and draining the water keeps your workspace dry and mold-free during the project.
Open Fixtures to Drain
After turning off the main water supply, open all the fixtures connected to your shower to drain any remaining water from the pipes. This step makes sure there’s no pressure or water in the lines when you remove or replace parts.
Be aware that different fixtures might need specific tools or steps during drain maintenance. Opening the faucet, showerhead, and valve allows gravity to drain out any leftover water.
Have a bucket or towels ready to catch any drips. Clearing the pipes of water helps reduce mess and prevents water damage during removal.
Properly venting the system also helps avoid pressure buildup, making the replacement process smoother and easier.
Remove Remaining Water
To guarantee a safe and clean removal process, you need to turn off the main water supply first. Once shut off, open any remaining fixtures to drain leftover water, preventing messes and water stains.
Use drying methods like towels or a wet/dry vacuum to absorb residual water in the tub or drain area. Carefully drain any trapped water in the pipes to avoid spills when disconnecting fixtures.
Removing remaining water minimizes the risk of leaks and damage during the replacement. Be thorough to ensure no water remains that could cause stains or mold growth later.
Properly drying the surface prepares it for the next steps and helps you keep a clean workspace throughout the removal process.
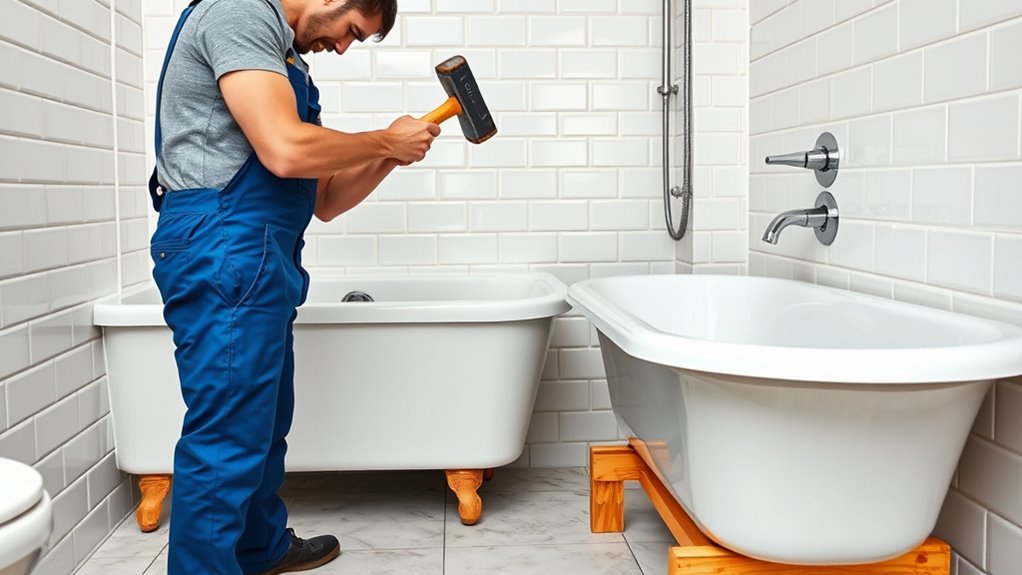
Remove Your Old Bathtub Shower Combo Step-by-Step
Before you start removing your old bathtub shower combo, it’s super important to turn off the water supply completely. That way, you won’t have any water splashing everywhere while you work.
Once the water is shut off, go ahead and take out all the fixtures, like the faucet and showerhead. After that, carefully remove the surrounding panels or tiles. Doing it this way makes the whole process easier and helps prevent any accidental damage as you prepare to install your new unit.
Turn Off Water Supply
Shutting off the water supply is a crucial first step to prevent leaks and water damage while removing your old bathtub shower combo. Find your main water shutoff valve and turn it clockwise to cut the flow.
Double-check that water has stopped by turning on a fixture nearby. This helps avoid unexpected water pressure surges that could damage fixtures or cause spills.
If your home has separate shutoff valves for the tub and shower, turn those off instead. Making sure fixtures are compatible before removal helps prevent accidental damage to plumbing or leaks later.
Once the water is off, open a faucet to drain any residual pressure. This step ensures a safer, smoother removal process and gives you clear access to disconnect the old unit.
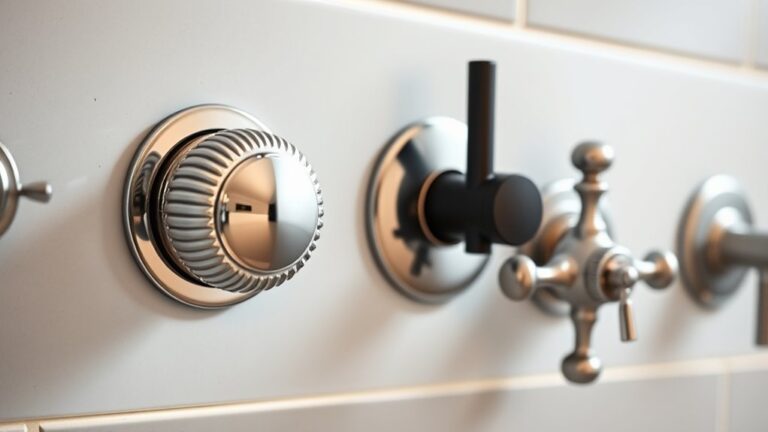
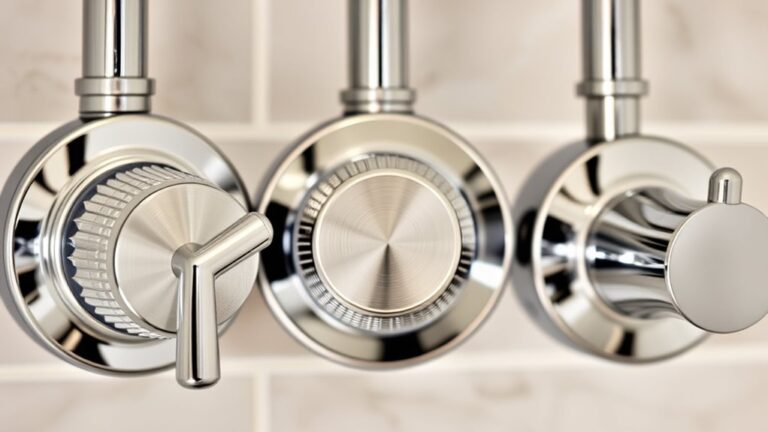
Remove Fixtures and Surround
Have you already turned off the water supply? Now, remove the fixtures like the showerhead and handles using a screwdriver or pliers. Keep track of the screws so you can put everything back together later.
Next, carefully detach the shower curtain and any decorative tiles around the tub. Be gentle if you plan to reuse them, to avoid damage. If the surround is made of acrylic or tile, loosen it by removing caulk or clips.
Gently pry the surround away from the wall, working from top to bottom. Be cautious around shards of broken or loose tiles. Once you’ve removed the surround and fixtures, you’ll clear the way for the new bathtub installation.
Make sure there’s no obstruction, and that surfaces are clean and ready for the new setup.
Inspect and Prepare Your Plumbing for the New Installation
Inspecting and preparing your plumbing is a crucial first step to ensure a smooth bathtub shower combo replacement. Start by checking the existing plumbing setup and considering its age and history to spot any outdated parts that could cause issues.
Look closely for leaks, corrosion, or damage that might weaken connections or lead to future problems. Turn off the water supply and drain any remaining water to keep your workspace clean.
Check for any warranties from previous installations, like a manufacturer’s warranty, which could affect your repair choices or the parts you need. If you see corrosion or signs of wear, replace the damaged pipes or fittings before installing the new unit.
Having your pipes in good shape helps prevent leaks down the line and extends your new bathtub’s lifespan. Doing a thorough inspection and proper prep helps catch potential problems early, making the installation smoother.
Plus, it ensures your new combo will be both functional and secure for years to come.
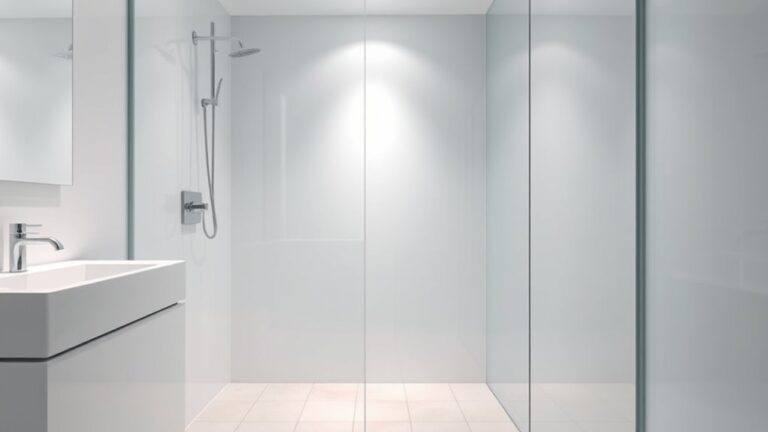
Choose the Right Replacement Bathtub and Shower Unit
After confirming your plumbing is in good shape, the next step is choosing the right bathtub and shower unit for your space. Start by thinking about bathtub materials—acrylic is lightweight and easy to keep clean, while porcelain enameled steel is known for durability. Fiberglass is more budget-friendly but less sturdy.
Your choice affects how long it lasts, how easy it is to clean, and the style you want. Also, consider shower customization options. Do you want built-in shelves, a high window for natural light, or a particular layout? Many units now come with features like adjustable spray heads or decorative surrounds, so pick one that matches your style and needs.
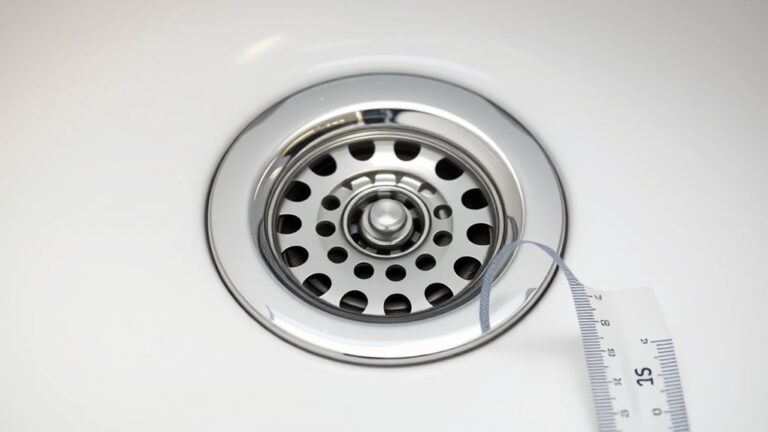
Make sure to measure your space carefully so your chosen unit fits comfortably and lines up with your existing plumbing. Browsing options in-store or online can help you picture different styles and features. Taking your time to select the right bathtub and shower ensures your update meets both your practical needs and personal taste.
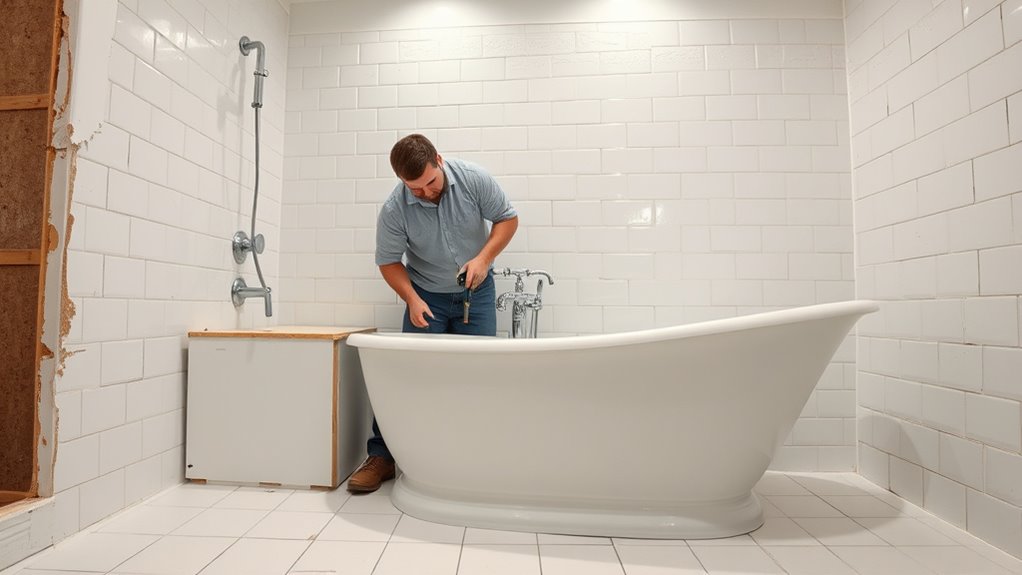
Install the New Bathtub Shower Combo Securely
Installing your new bathtub shower combo can be straightforward if you take it step by step. First, make sure you’re using the right mounting techniques to keep everything stable. It’s important to double-check that all your plumbing connections are tight—no one wants leaks! Take your time to tighten fittings properly and ensure everything is secure.
Once everything is in place, give it a good test for leaks before you finish up. Just turn on the water and watch carefully around all connections. If you notice any drips, tighten those fittings a bit more. That’s the best way to make sure it’s sealed correctly and everything will function smoothly for years to come.
Proper Mounting Techniques
Ensuring your new bathtub shower combo is mounted securely is essential for safety and durability. Proper mounting prevents movement or leaks and helps handle water pressure effectively. Start by confirming the frame is level and firmly anchored to studs. Use shims if necessary to keep everything in place.
When attaching the brackets, guarantee they grip the studs tightly. Avoid any loose connections that might cause problems down the line. Pay attention to the tile grout around the edges to ensure a watertight seal, preventing water from seeping behind the fixture.
A stable mount reduces stress on plumbing connections and prolongs your shower’s lifespan.
| Support Type | Confirmed Stability |
|---|---|
| Wall Brackets | Securely fastened, no wobbling |
| Frame | Fully anchored, level, and shims in place |
| Sealant | Properly applied, no gaps or cracks |
Secure Plumbing Connections
Always put safety first by wearing gloves and eye protection when working with plumbing tools. Keep your tools clean and inspect them regularly to ensure they’re in good shape, which helps achieve tight, secure connections.
Double-check all fittings for proper alignment before tightening. Use the correct size wrench to avoid damaging the fittings. Keeping your workspace organized also makes the process easier and reduces tool mishandling.
Check for Leaks
After tightening all the fittings, turn on the water supply and check for leaks around each connection point. Carefully watch for any dripping or moisture, since leaks can cause water pressure problems and damage your bathroom.
If you spot a leak, try tightening the fittings just a little more or reseal with plumber’s tape if needed. A tight seal helps prevent water from seeping into wall cavities and causing mold buildup over time.
Keep an eye on these areas during the first use to catch leaks early. Maintaining a secure installation is key for steady water pressure and preventing mold from excess moisture.
Regularly inspecting these connections helps ensure a safe, durable bathtub shower combo.
Connect the Plumbing and Check for Leaks
Before attaching the plumbing, double-check that all fittings are tight and properly aligned. This helps ensure a secure connection, especially when replacing a faucet or installing new pipe insulation. Once everything is in place, turn on the water supply gradually and look for leaks around fittings and joints.
If you spot any drips, tighten the connections slightly to seal them. It’s also important to verify that hot and cold supply lines are connected correctly to their respective inlets. Use a wrench to tighten fittings but be careful not to overtighten, as this could crack or damage parts.
Test both the faucet and showerhead to confirm proper water flow and temperature. Keep an eye on the joints while running water and check for signs of leaks. If you find any, re-tighten or reattach fittings as needed.
Seal Edges and Caulk for a Waterproof Fit
Once you’ve confirmed all plumbing connections are tight and leak-free, it’s time to focus on sealing the edges and applying caulk. Proper sealing helps keep water from seeping behind tiles or past the waterproof membrane, which can extend your shower’s lifespan. Use a high-quality silicone caulk, especially where the bathtub meets the tile wall.
For a cleaner look, smooth the caulk with a finishing tool or your finger. Just remember to clean the surface thoroughly first to ensure good adhesion. Here’s a quick guide to sealing everything up:
| Step | Material Needed | Tip |
|---|---|---|
| Apply caulk | Silicone caulk | Use steady pressure to make an even bead |
| Smooth the bead | Caulk finishing tool | Keep a wet cloth nearby to clean up excess |
| Seal tile grout joints | Tile grout | Fill gaps to stop water from getting in |
| Check for gaps | Your finger or tool | Make sure edges are tight and smooth for waterproofing |
A well-sealed shower keeps water where it belongs—inside your tub.
Inspect Your Work and Tips for Maintaining Your New Shower
Inspecting your work thoroughly is essential to make sure everything works correctly and avoid costly problems later on. After installing your new shower, take the time to do a detailed check to spot any issues early.
Use a maintenance checklist to go over all components, making sure there are no leaks or loose fixtures. Check the caulking for gaps, test the water pressure, and look for any signs of mold or mildew.
To keep your shower in good shape, regularly clean the grout lines and make sure the drain isn’t blocked. Take a close look at the seals around the edges to prevent water from seeping behind tiles or panels.
Consistent maintenance helps avoid water damage and keeps your shower looking fresh. Staying diligent with routine checks will extend the life of your installation and ensure it performs well for years to come.
Frequently Asked Questions
How Long Does a Bathtub Shower Combo Replacement Typically Take?
A bathtub shower combo replacement usually takes about one to three days, depending on the materials you pick and how long the installation takes.
If you go with a simple acrylic unit, it might be faster. But if you’re choosing more complex options like tile or custom surrounds, that could add to the timeline.
Planning ahead helps make sure everything goes smoothly and reduces delays. Remember to include demolition, plumbing adjustments, and finishing touches when estimating the time needed.
Are There Any Safety Precautions to Consider During Installation?
Yes, you should wear safety gear like gloves and goggles to protect yourself during installation.
Make sure to turn off power to nearby outlets and switches, especially if you’re working near electrical fixtures, to keep electrical safety in check.
Keep your workspace dry to prevent shocks, and follow all manufacturer instructions carefully.
Avoid rushing, and double-check measurements and connections to avoid mistakes.
Staying vigilant about safety precautions helps prevent accidents and makes the installation process smoother.
Can I Replace a Bathtub Shower Combo Myself Without Professional Help?
Replacing a bathtub shower combo yourself is doable if you’re confident with DIY tips and follow a tool checklist. Think of it like assembling a complex puzzle—you need the right pieces and patience.
I’ve replaced mine with care, avoiding leaks and damage. Make sure to turn off the water, gather necessary tools, and follow safety tips.
If you’re comfortable with basic plumbing, you can successfully tackle this project on your own.
What Are Common Mistakes to Avoid During Installation?
During installation, avoid rushing the tile maintenance, as it can lead to leaks and water damage. Take your time and follow the steps carefully.
Make sure your water pressure is within safe limits. High pressure can damage pipes or fixtures, so it’s worth checking before you start.
Double-check all connections for tightness. Don’t forget to properly seal around edges to prevent leaks.
Following instructions carefully helps prevent mistakes that could cause problems down the line. Skipping steps or rushing can turn your DIY project into a failure.
How Much Will It Cost to Replace My Bathtub Shower Combo?
Replacing your bathtub shower combo typically costs between $1,000 and $3,500, but this can vary depending on the materials you choose and how complex the job is.
Your total cost will include labor, materials, and fixtures. Premium materials and custom features will usually raise the price.
If you go for high-end tile or special design features, expect to pay more. To keep costs manageable, compare different quotes and pick affordable materials.
You can also save by doing some prep work yourself. Planning ahead and shopping around will help you stay within your budget.
Conclusion
With your new bathtub shower combo in place, you’ve transformed a leaky, tired space into a sparkling oasis that invites relaxation.
Think of your bathroom as a canvas — each step you took is like a brushstroke, creating a masterpiece of comfort and style.
Now, every shower feels like a fresh splash of inspiration, ready to wash away the stress of the day.
Enjoy your handiwork and let your revamped shower be the star of your home’s style.
By replacing your bathtub shower combo, you’ve crafted a space that’s both beautiful and functional.